
Moving to new accounting software without your historical data is like starting a book in the middle: you’re missing the context that makes everything meaningful. Whether you’re migrating from spreadsheets, upgrading your accounting platform, or consolidating multiple systems after a merger, importing historical transactions is how you maintain reporting continuity, satisfy audit requirements, and make data-driven decisions based on complete financial trends rather than partial snapshots.
The stakes are high: 83% of data migration projects either fail or exceed their budgets and schedules. The culprits are poor planning, incomplete data validation, and underestimating the complexity involved. So business owners often need practical guidance on importing historical transactions correctly, from handling it in-house to working with their finance team.
Below, we’ll be covering how to import historical transactions into QuickBooks, Xero, and NetSuite without losing your data or your mind.
TL;DR
- Historical transactions are your financial memory: Past transaction data enables year-over-year comparisons, trend analysis, and complete audit trails that regulatory bodies often require.
- Manual imports work but scale poorly: CSV uploads and manual entry give you control over data mapping, but quickly become time-intensive as transaction volumes grow beyond a few hundred records.
- Automated tools handle volume efficiently: Automated historical data sync with the help of special tools like Synder connects platforms like Shopify, Stripe, Amazon, Square, and PayPal to QuickBooks, Xero, or NetSuite. This way you can import and categorize thousands of past transactions.
- Platform-specific methods vary significantly: QuickBooks accepts CSV imports and third-party integrations, Xero focuses on bank feeds and CSV templates, while NetSuite requires more technical approaches like CSV imports or SuiteScript.
- Data validation prevents downstream problems: Test imports on a small batch first, verify account mappings match your chart of accounts, and reconcile totals against source system reports before committing to full historical imports.
What are historical transactions?
Say you run a Shopify fitness store. You used spreadsheets for months, then switched to QuickBooks in September without importing your old data. Now you can’t compare November to last November. When a customer disputes a July charge, you’re hunting through old files instead of checking QuickBooks. At tax time, your accountant needs a full year of revenue, but you only have four months in the system.
So historical transactions are simply all the financial records that happened before you started using your current accounting system: sales, expenses, refunds, fees, and payments. For ecommerce businesses, this includes every transaction from your sales channels (Shopify, Amazon, eBay), payment processors (Stripe, PayPal, Square), and any other platform where money moved before your migration date.
Why you need to import them
The practical reasons go beyond just “having complete records.” Here’s what needs to be taken into account:
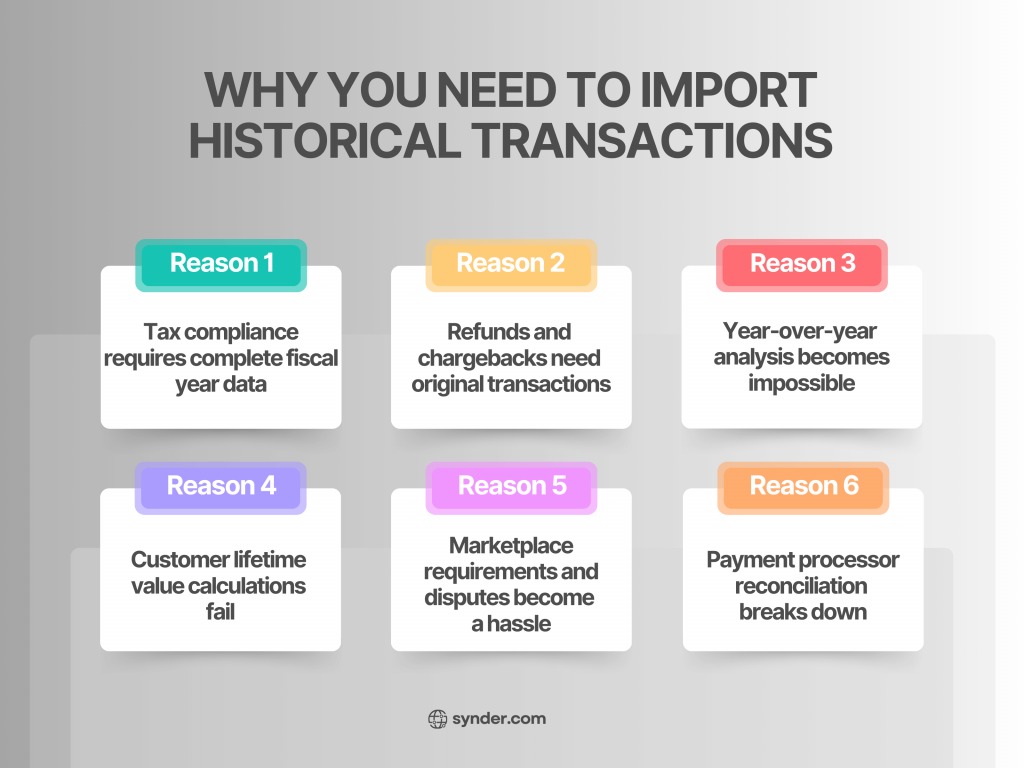
- Tax compliance requires complete fiscal year data: The IRS expects full-year records regardless of when you switched systems.
- Refunds and chargebacks need original transactions: A refund for a pre-migration sale creates a mismatch that breaks reconciliation and distorts revenue.
- Year-over-year analysis becomes impossible: Without historical data, you can’t compare performance or identify trends.
- Customer lifetime value calculations fail: You can only see recent orders, not the full purchase history needed for accurate calculations.
- Marketplace requirements and disputes become a hassle: Transaction documentation is scattered across multiple dashboards instead of consolidated in your accounting system.
- Payment processor reconciliation breaks down: When bank deposits don’t match transactions in your system, you need to match it manually every month.
How to import historical transactions into accounting software
Your import approach depends on several factors:
- How many transactions are you dealing with?
- What platforms does your data currently live in?
- Do you need ongoing synchronization or just a one-time historical backfill?
You can pack and carry everything yourself, or you can hire movers who know exactly how to handle your stuff. Neither option is wrong, there are just different tradeoffs.
The manual route involves exporting data from your source systems, cleaning it up in spreadsheets, and uploading it using your accounting software’s import templates. It’s like moving inventory between warehouses box by box: you see exactly what’s going where, but it’s so difficult and time-consuming.
The automated route uses integration platforms that connect directly to your sales channels and payment processors, pulling in historical data automatically while also setting up ongoing sync for future transactions. It’s more about having a financial assistant who never sleeps.
Automated import with Synder
For ecommerce businesses handling multiple sales channels, automated accounting solutions deal with the chaos of multi-platform operations. Synder, for example, connects over 30 platforms to QuickBooks Online, Xero, Sage Intacct, Oracle NetSuite, and Puzzle, covering major marketplaces and ecommerce platforms with shopping cart solutions (Amazon, eBay, Etsy, Shopify, WooCommerce, etc.), and payment processors (Stripe, Square, PayPal, Authorize.net, Braintree). The platform imports historical transactions with full detail: individual sales, refunds, fees, taxes, and shipping charges, all properly categorized and ready for reporting. It’s like having someone fluent in every platform’s language translate everything into your accounting software’s dialect.
Real-world example: Automated import of historical data across five marketplaces
TJAYZ, a retailer selling handcrafted goods from Mexico across Shopify, Amazon, eBay, Walmart, and Etsy, faced a growing backlog of manual data entry into QuickBooks Desktop. Their biggest challenge was importing historical refund data – without it, their financial reports were inaccurate and refunded items weren’t returning to inventory, causing marketplaces to show products as out of stock when they were actually available for resale.
Synder’s historical import capability automatically imported a full year of historical refund data and unified all five sales channels into QuickBooks. The integration now handles all transaction details, including refunds that automatically return items to inventory. TJAYZ now saves over 40 hours monthly that used to go toward manual data entry and reconciliation.
Dealing with multiple sales channels? Book a demo to see how Synder handles your platforms.
Comparing the import options
Choosing the right import method depends on your specific situation. Here’s how different approaches stack up:
| Import method | Best for | Time required | Technical skills needed | Pros | Cons |
| Manual CSV Import | <500 transactions, one-time imports | Hours to days depending on volume | Basic Excel/spreadsheet skills | Full control over data mapping, no ongoing costs | Time-intensive, error-prone at scale, no ongoing automation |
| Platform Integration (like Synder) | Multiple sales channels, ongoing sync needed | Setup in hours, then runs automatically | Basic configuration, no coding | Handles high volumes, ongoing sync, automatic categorization | Monthly cost, limited to supported platforms |
Platform-specific import methods
Each accounting platform handles historical data imports its own way. And these aren’t minor format tweaks. Each platform has different rules for how data should be structured, named, and validated. Getting familiar with these differences upfront saves you from watching a 5,000-transaction import crash because of one mismatched customer name.
Importing historical transactions into QuickBooks
QuickBooks accepts CSV files through direct upload or Web Connector, plus IIF files for QuickBooks Desktop. Field requirements are strict – customer names must match your existing customer list exactly (including spaces and capitalization), dates need MM/DD/YYYY format, and account codes must exist in your chart of accounts. One typo can reject an entire batch of 1,000 transactions.
IIF files offer more flexibility than CSV for complex transactions with multiple line items or specific account relationships. They’re particularly useful for QuickBooks Desktop users migrating from other accounting software. Most users export IIF files from their previous system or use conversion tools rather than creating them manually.
You can also choose between importing only opening balances (your starting point based on ending balances from your previous system) or bringing in detailed historical transactions. Opening balances work for forward-looking accounting but sacrifice historical reporting. Most businesses should import at least the current fiscal year in detail for tax preparation and trend analysis.
Practical tip: Synder eliminates QuickBooks’ strict formatting requirements by connecting directly to your sales channels and payment processors. Instead of wrestling with CSV templates and exact field matches, configure your account mappings once in Synder, and the platform handles all the formatting, field matching, and data structuring automatically. Historical transactions flow into QuickBooks with sales, fees, taxes, and refunds already broken out into the correct accounts.
Importing historical transactions into Xero
Xero is built around bank feed imports and CSV templates with very specific formatting rules. Column headers must match Xero’s exact naming conventions, dates need DD/MM/YYYY format for most regions (or MM/DD/YYYY for US), and amounts can’t include currency symbols or thousand separators.
Xero’s strength lies in bank reconciliation – it excels at matching imported historical transactions to bank feeds retroactively. The platform is particularly good for businesses that want to reconcile historical periods after the fact. Once you’ve formatted your data correctly, historical bank statement imports work smoothly.
Practical tip: Synder automates the transfer of transaction data to Xero. The integration handles column headers, date formats, and amount formatting automatically based on your Xero region settings. For multi-currency operations, Synder preserves the original transaction currency and lets Xero apply its exchange rates, ensuring your historical imports reflect accurate international revenue without manual currency conversions.
Importing historical transactions into NetSuite
NetSuite is designed for enterprise operations with complex organizational structures. CSV imports work through saved searches and SuiteScript for custom data transformations. Unlike QuickBooks or Xero where you can reference customers by name, NetSuite requires internal IDs – every customer, vendor, item, and account has a unique numerical identifier that must match during import.
The learning curve is steep. You’ll need to account for subsidiary structures, department/class tracking, and multi-entity accounting rules before historical data makes sense. You can’t just upload a CSV and hope for the best – the data needs to align with your NetSuite implementation structure, including proper subsidiary assignments and intercompany eliminations if applicable.
Practical tip: Synder connects to NetSuite for multi-channel businesses, syncing sales, refunds, fees, and taxes from platforms like Shopify, Amazon, Stripe, and PayPal. The integration handles multicurrency transactions and creates clean journal entries, eliminating manual data entry for historical transaction imports.
Specifics of importing historical transactions from ecommerce platforms
Every ecommerce platform throws similar curveballs when you’re importing historical data: you’ve got multiple transaction types (orders, refunds, fees), tricky tax calculations, and data that’s built for running an online store, not talking to accounting software.
This article focuses on Shopify and WooCommerce because they show you two completely different approaches. Shopify is hosted and all-in-one with standardized exports – what you see is what you get. WooCommerce is self-hosted and plugin-based, which means your data structure changes depending on which payment gateways and extensions you’ve bolted on.
How to sync historical Shopify transactions
In Shopify, the admin panel exports order data to CSV, but the format doesn’t match QuickBooks, Xero, or NetSuite templates. You’ll need to restructure data, separate fees from sales, and handle multicurrency transactions.
Accounting automation tools eliminate this work. Connect your Shopify store to Synder, configure account mappings (sales income, processing fees, tax liability), and set your historical date range. The integration breaks down each transaction into components (sale + tax + shipping + fees). A manual import might show $105 in sales when it’s actually $100 product + $5 shipping + $3.50 processing fee – $3.50 paid to Shopify.
How to import historical WooCommerce transactions
The WooCommerce order export plugin provides transaction history, but data lives in your WordPress database optimized for ecommerce, not accounting.
Payment gateway complexity adds another layer. Orders might process through Stripe, PayPal, Authorize.net, or direct bank transfers, each with different fees and refund handling. Integration platforms connect WooCommerce to accounting software, handling payment gateway diversity and proper revenue recognition. For businesses selling physical products and digital downloads, integrations apply different accounting treatment based on product type.
Importing historical transactions from payment processors
Payment processors create headaches for accounting because they sit right between your customers and your bank account. Unlike straightforward bank deposits, they come with fees, chargebacks, refunds, and timing gaps between when you make a sale and when the money actually lands in your account.
Let’s cover Square and PayPal because they work in completely different ways: Square combines POS hardware with payment processing (perfect if you’re selling both in-store and online), while PayPal acts as both a payment processor and a holding account where money is until you transfer it out.
How to sync historical transactions into Square
Square transactions include card processing, cash sales, tips, refunds, and deposit transfers – each with different accounting treatment. The Transaction Report export provides comprehensive history, but the format emphasizes operational detail over accounting needs. Integration approaches handle Square’s unique structure by separating gross sales from net deposits and properly categorizing the difference as processing fees.
For businesses with multiple locations, automation tools use Square’s location data to automatically apply class or location tracking in your accounting software.
How to sync PayPal historical transactions
PayPal requires special treatment for revenue recognition. Money accumulates in your PayPal balance until you transfer it to your bank, but you need to recognize revenue when the sale occurs, not when you withdraw funds. When a customer pays you $100 through PayPal, you receive $96.80 after fees (assuming 3.2% + $0.30 standard rate). Your accounting needs to show $100 in revenue, $3.20 in payment processing expense, and $96.80 in your PayPal asset account.
Manual imports often get this wrong, showing only the net $96.80 as revenue. Automnation tools handle PayPal’s challenges by recognizing gross transaction amounts and tracking your PayPal balance as an asset account.
Want to skip the manual formatting headaches? Start Synder’s 15-day free trial and import your historical transactions automatically.
Sum up: Get your historical data right from the start
Importing historical transactions into QuickBooks, Xero, or NetSuite keeps your financial records complete for tax compliance, year-over-year comparisons, and smart business decisions. Each platform has its own peculiarities: QuickBooks demands strict field matching, Xero wants specific date formats, and NetSuite speaks in internal IDs instead of plain English names.
But what you’re importing from matters just as much as where it’s going. Ecommerce platforms like Shopify and WooCommerce spit out transaction data packed with fees, taxes, and refunds all mixed together. Payment processors like Square and PayPal throw in their own curveballs with gross-to-net conversions and timing gaps between sales and actual deposits.
Start by assessing your transaction volume and platform complexity before choosing between manual CSV work and integration software. Run a pilot import with a small dataset, verify the results carefully, and build a proper migration plan.
FAQ
Can I import data from one accounting platform to another?
Yes, but difficulty varies. QuickBooks Desktop to QuickBooks Online is pretty straightforward with Intuit’s migration tool. Moving between different vendors (Xero to NetSuite, QuickBooks to Sage) requires more work since each platform structures data differently.
What types of files are supported for imports?
CSV files work across all accounting platforms. QuickBooks also accepts IIF files, NetSuite uses CSV through SuiteScript. Excel files usually need CSV conversion. Use your platform’s templates and don’t modify column headers or structure.
How do I ensure data integrity during imports?
Start with 10-20 test transactions first. Check details, not just totals: verify dates, amounts, and account assignments match. Run reconciliation reports comparing your accounting software totals against source system reports before importing the full dataset.
Is it possible to automate the import process?
Yes. Accounting tools like Synder handle ongoing sync automatically. For historical imports, select your date range and the tool fetches everything. What takes days manually happens in hours with automation handling formatting, batch imports, and retries.