Bookkeeping is an essential part of running a business, but also not an aspect in which many business owners have expertise, which leads to lost time on cumbersome, error-prone manual processes. Synder is an accounting automation system that can wipe off these hassles in bookkeeping by automatically performing such redundant and time-consuming tasks, adding efficiencies – you have only one digital platform to orchestrate all your sales platforms (such as Shopify, Amazon, Stripe, PayPal, and many others), reflecting your online payments data with all necessary details (customers, items, taxes, shipping, discounts and so on) in your accounting.
Synder mirrors the actual money flow in your accounting system – having connected Braintree to your Accounting company, all your individual transactions along with all the information they contain will be automatically recorded in the Braintree (required for Synder) account (a Clearing account) and categorized and as a result, you always have your books prepared for correct reporting and hassle-free tax filing!
Connect your Braintree to Synder and check out how precise, detailed, and easy accounting can be with its help!
Overview:
Start the Braintree integration from scratch
1. Create an account
If you’re getting started with Synder you’ll need to create a free Trial account and connect your accounting system first. Check out this guide if you would like to integrate your payment platform with QuickBooks Online or Xero, and this article to connect your QuickBooks Desktop company.
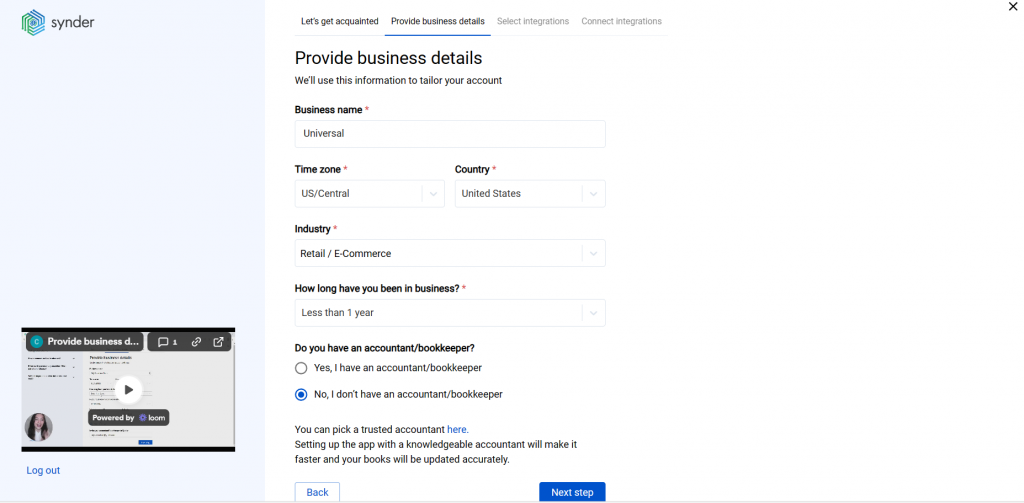
2. Provide your business details
Going through the set-up process of an Organization for your QuickBooks/Xero company, fill in the information about your business and hit the Next step button.
3. Select the platforms you’d like to integrate
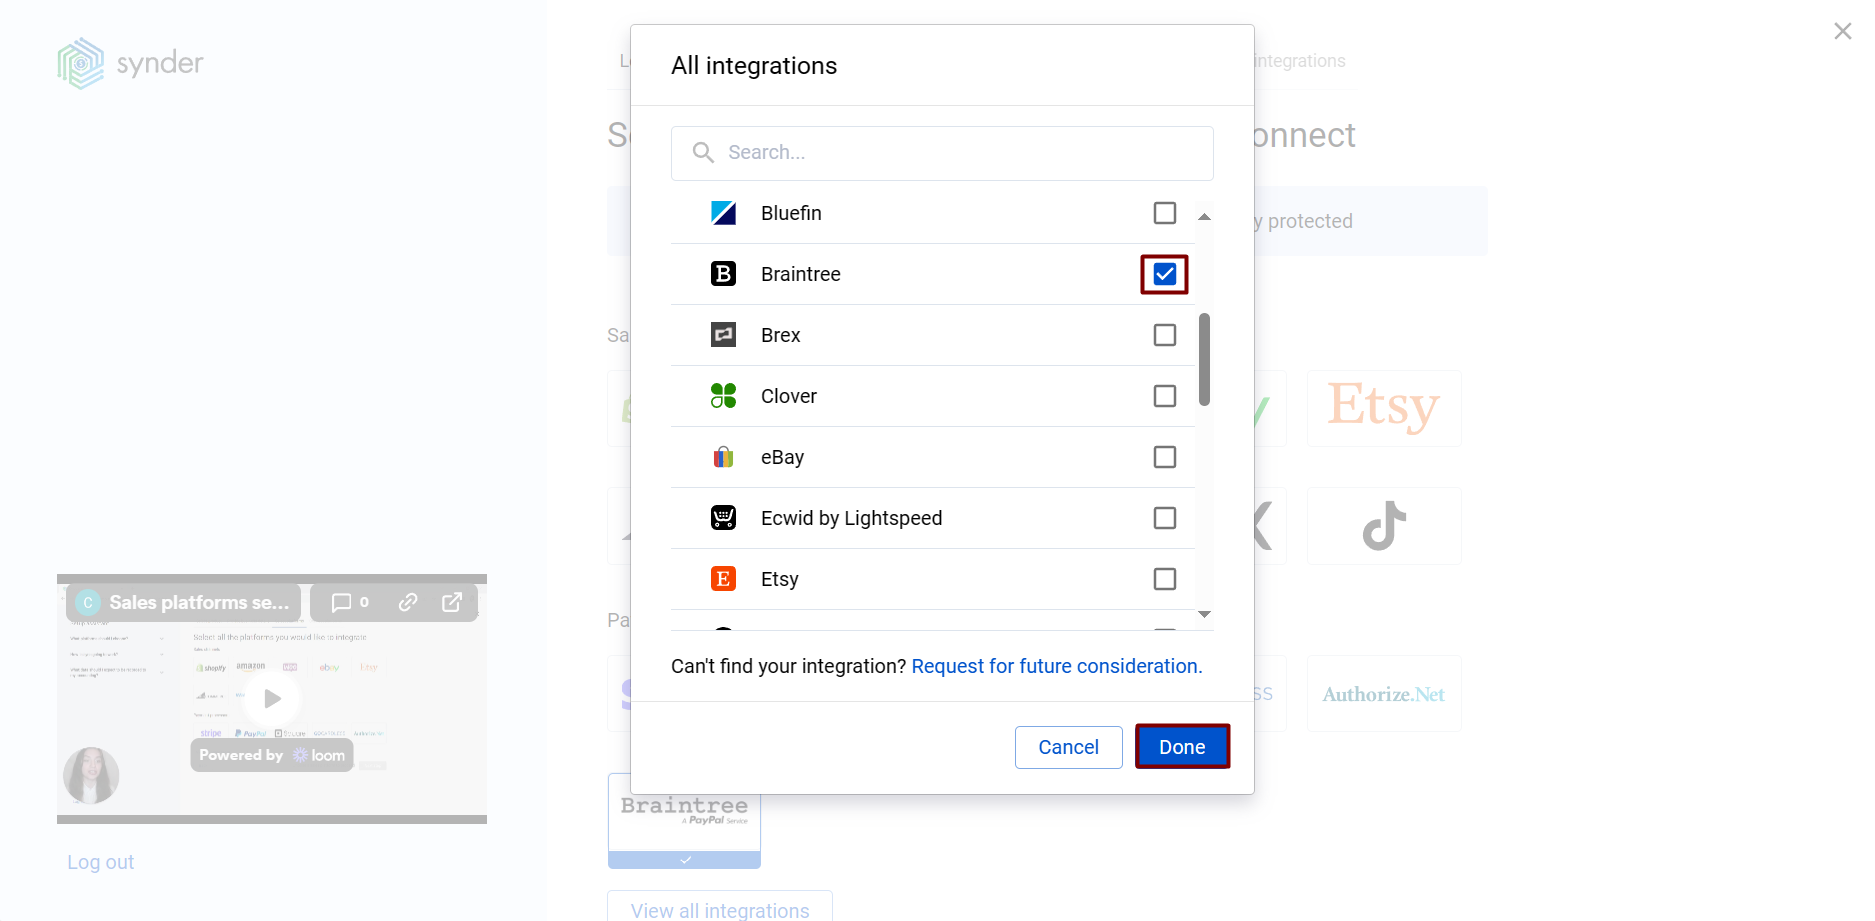
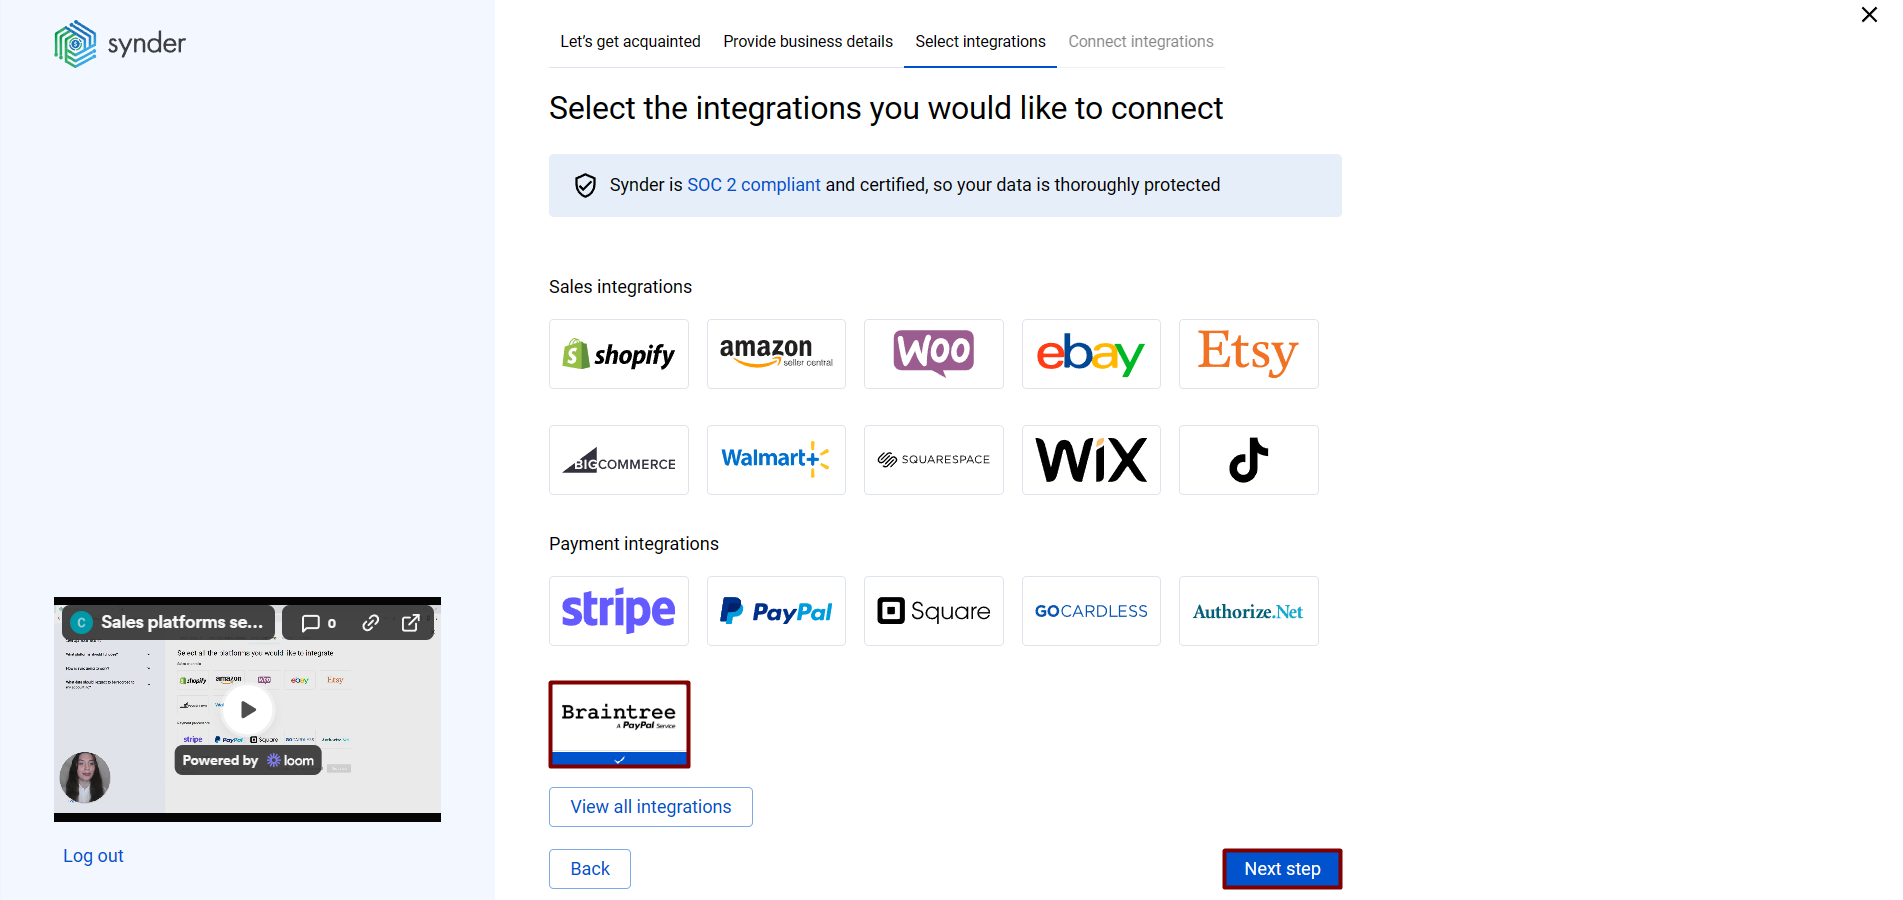
Now you need to select the platforms you would like to connect to Synder. Click View all integrations to see the list of all available platforms.
Note: Mark all the services you are using to receive payments, you will be able to connect all of them right away or skip the connection of particular integrations and set them up any time later.
4. Connect your accounting platform
Select the accounting company you’d like to connect to Synder and click on Next step.
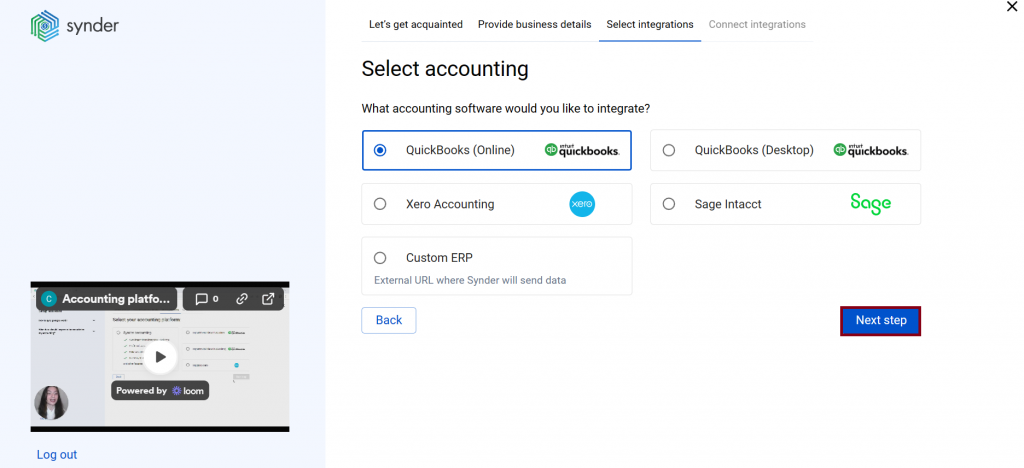
Note: If you are connecting QuickBooks Online or Xero, you will be prompted to select the sync mode. Proceed with the desired option.
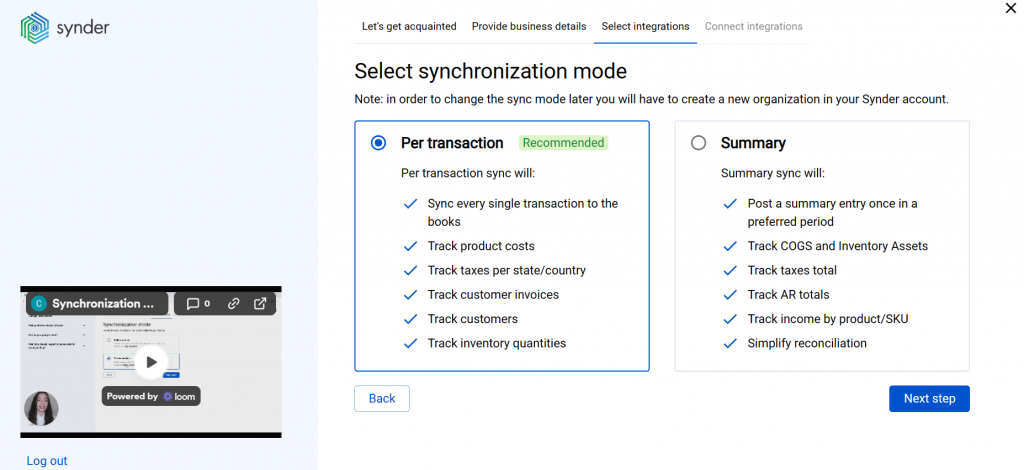
Click on Connect to connect your accounting company.
5. Connect your Braintree account
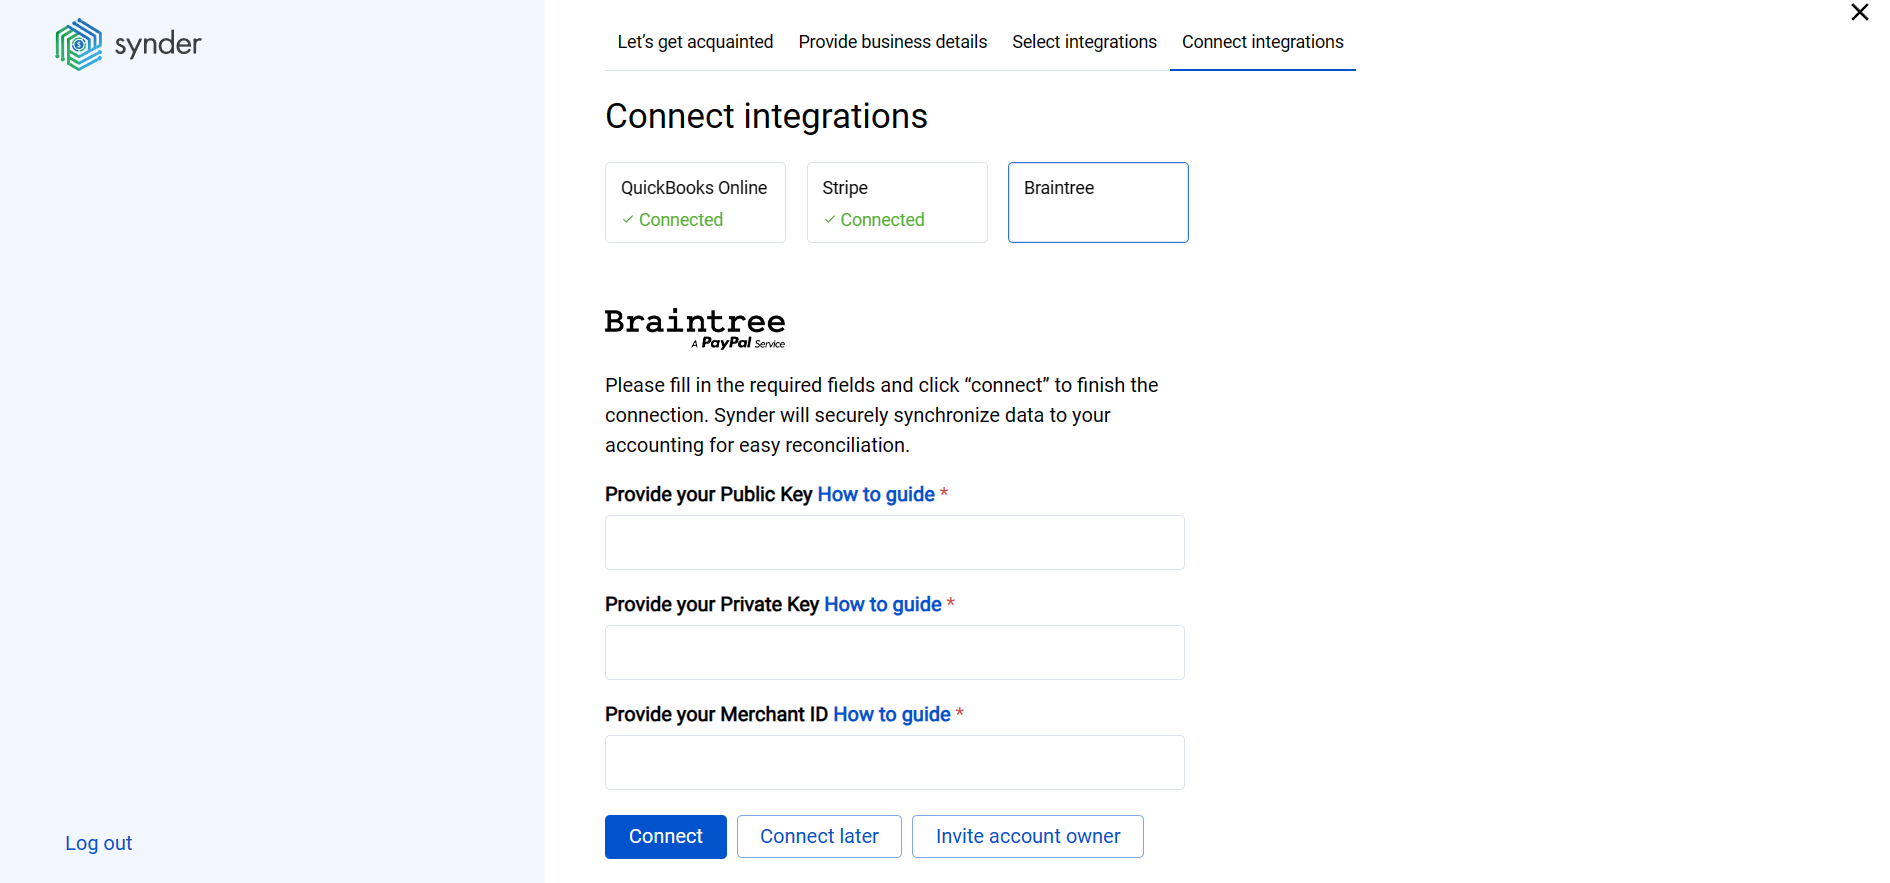
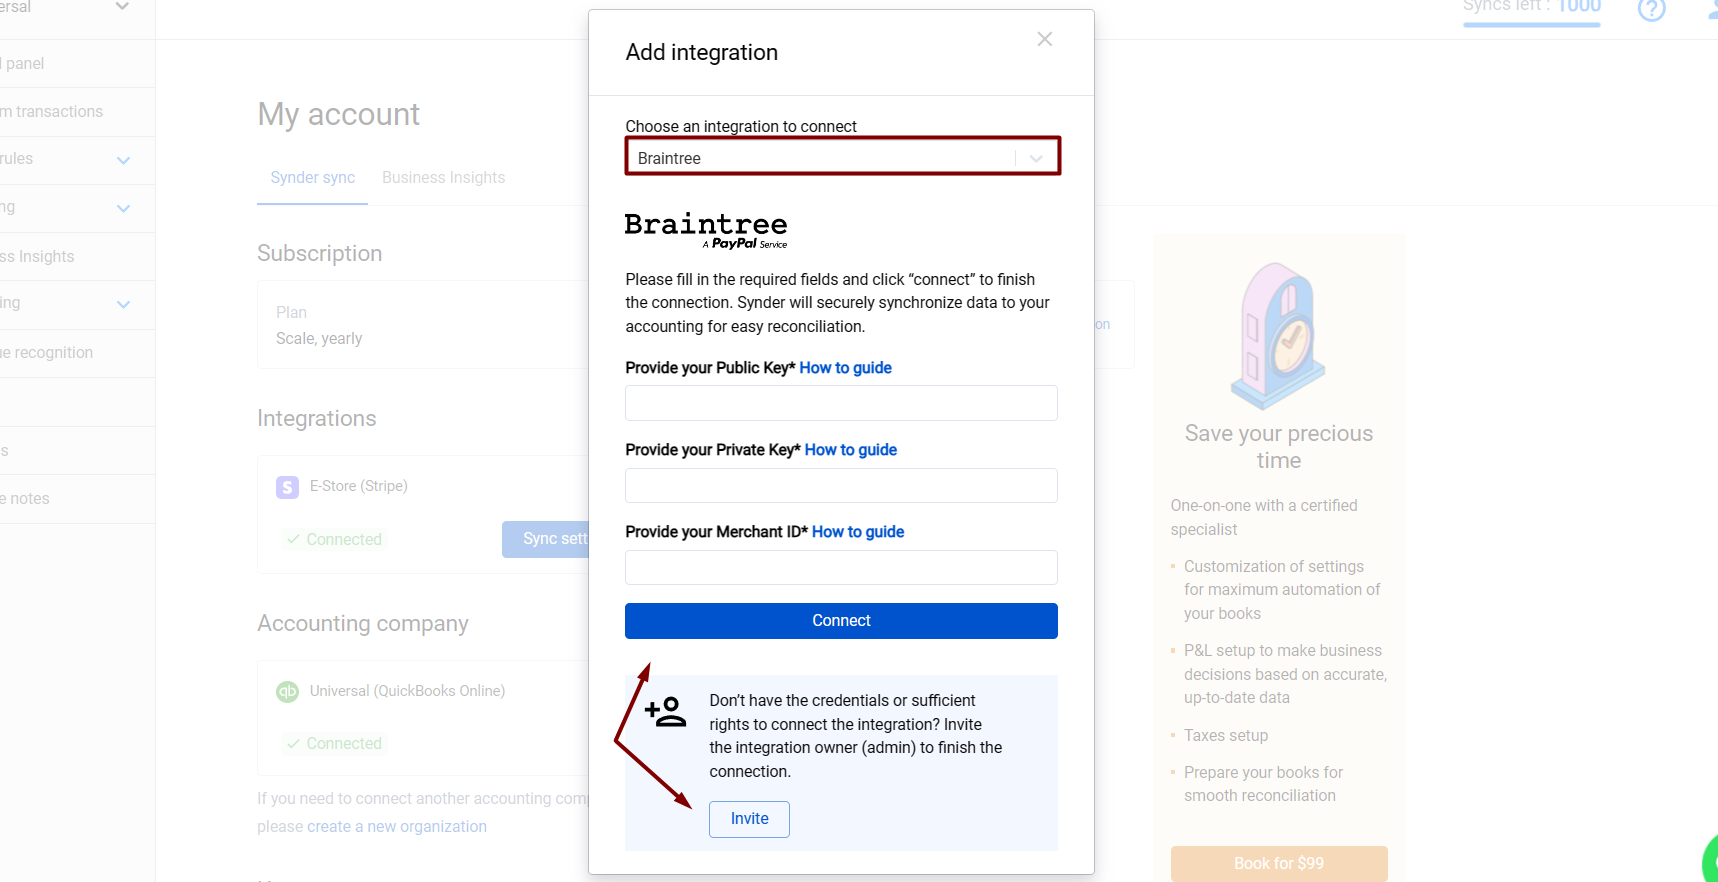
Almost there! To complete the setup, you just need to connect your Braintree and other sales platforms to Synder. Click on Connect if you are an admin, or Invite account owner if you do not have admin access in Braintree.
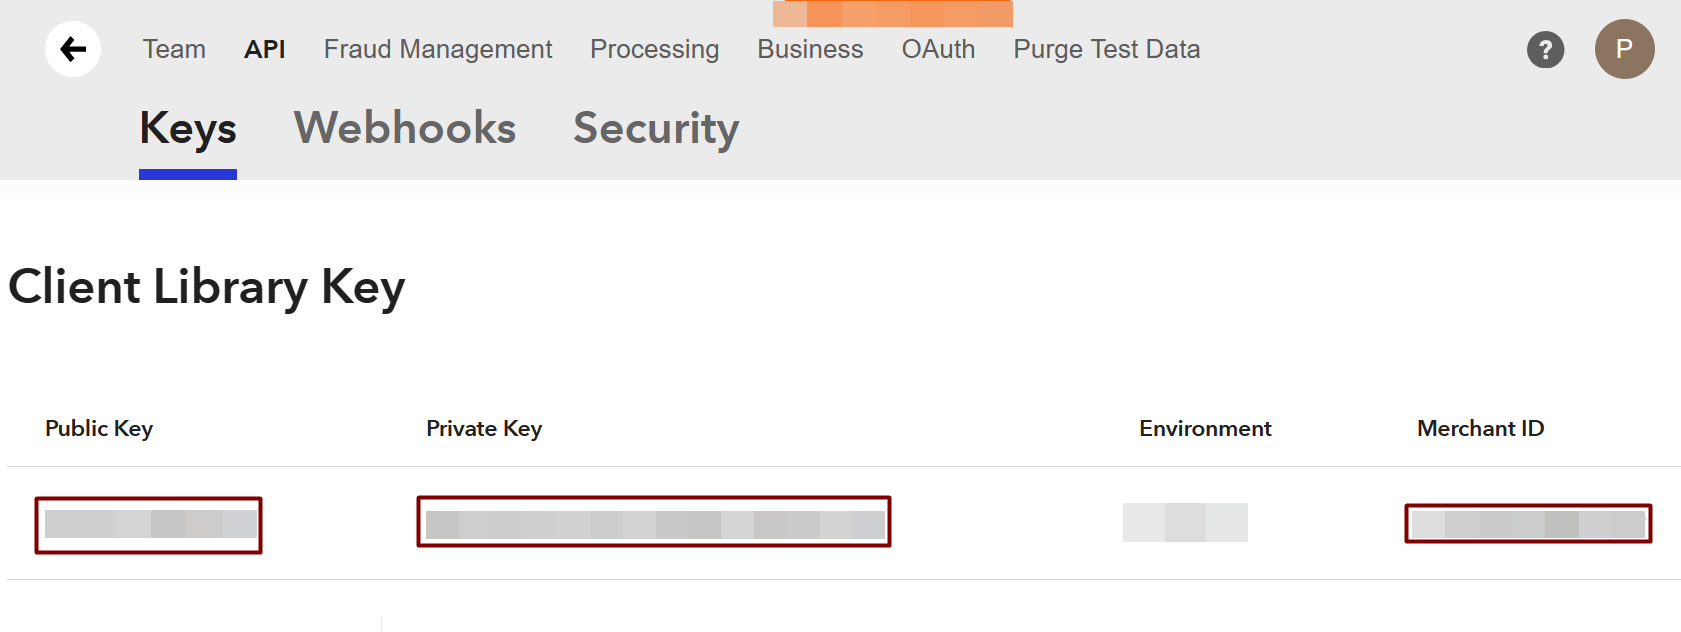
You will be prompted to fill in your Merchant ID, Public Key and Private Key to let Synder see and synchronize your transactions. Please, follow these quite simple steps below to acquire the details needed from your Braintree account:
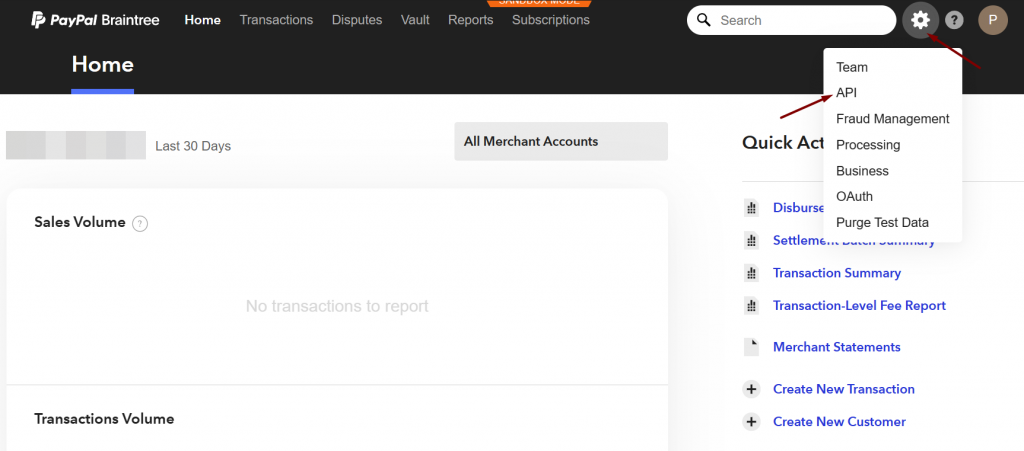
a. Navigate to the Braintree settings under the Gear icon in the top-right corner of your Braintree account → choose API.
b. Hit ‘Generate New API Key’ → then click ‘View’ for newly generated Key.
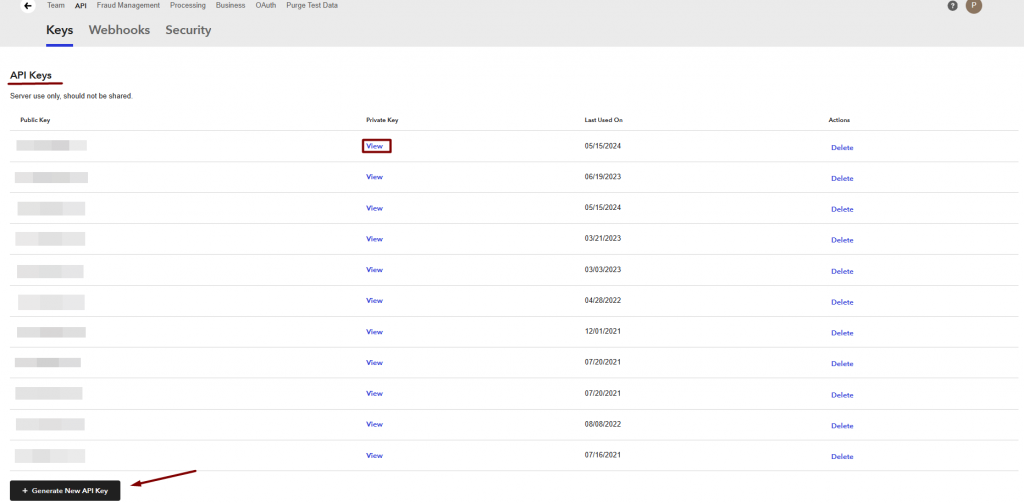
c. Copy all three (Public Key, Private Key, Merchant ID) from Braintree and paste to the corresponding Synder fields. Then, click on Connect.
You can integrate other sales platforms one by one straight away or skip the connection for other additional payment processors and set them up later in the Settings:
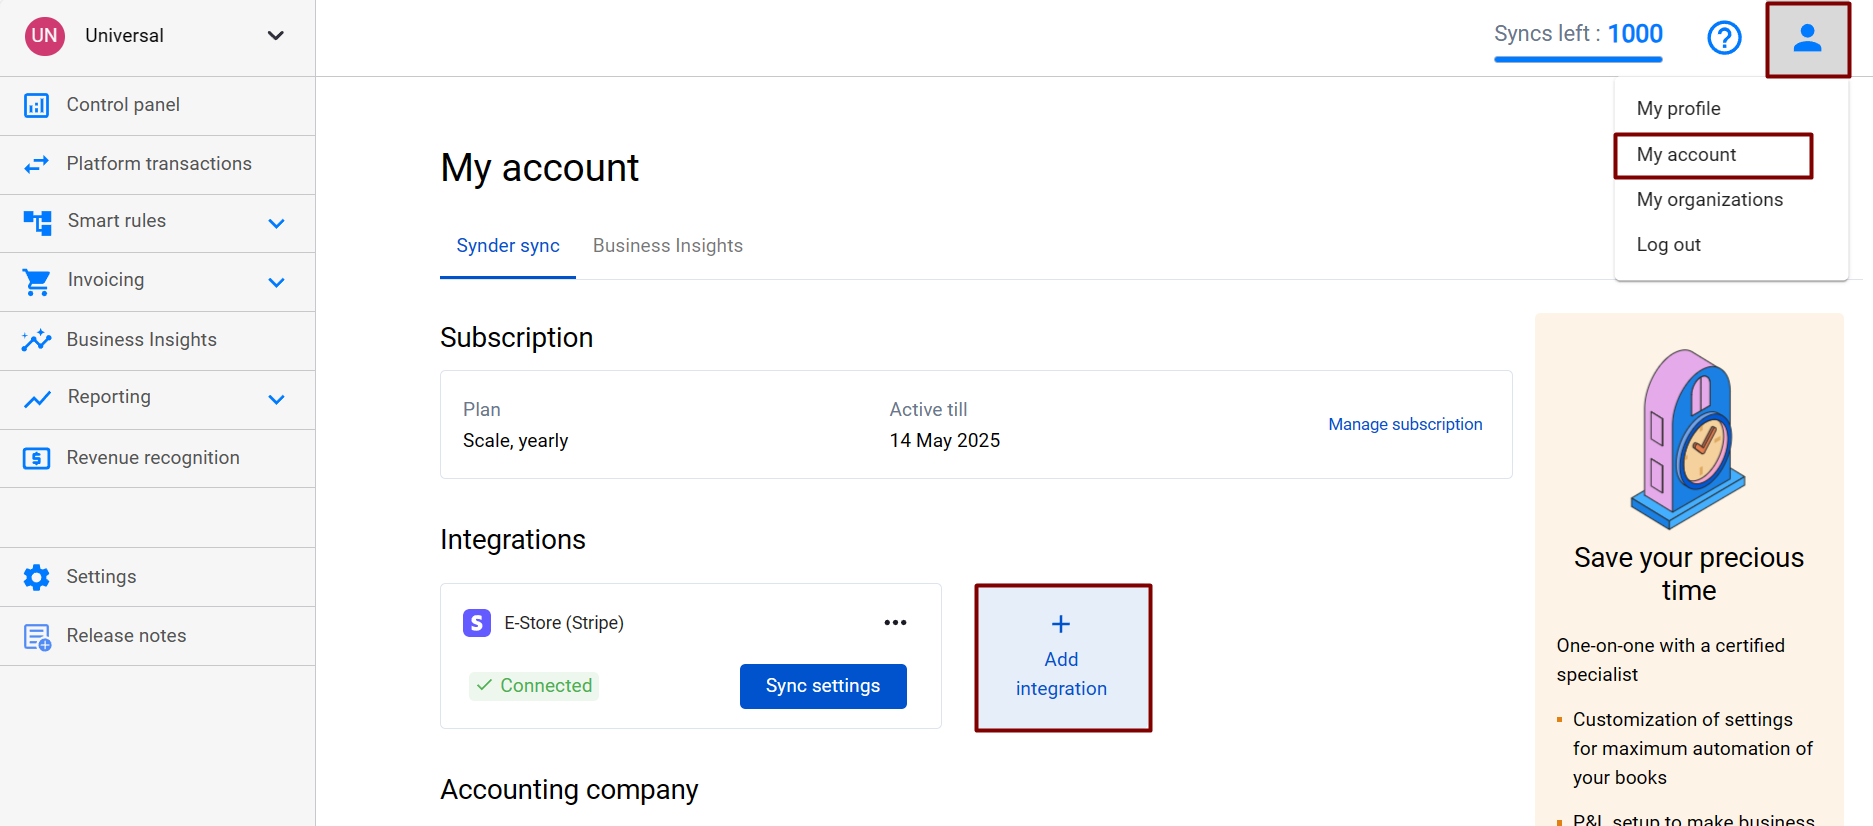
a. Click on the Person icon in the upper-right corner and select Organization settings.
b. In the Integrations section, click Add integration.
c. Select the integration you’d like to connect and click Connect. If you don’t have admin rights, send an invitation to the account owner.
Note: You can find our detailed guides on how to connect your sales channels and payment providers to QuickBooks Online/Xero via Synder in our Help center.
Tips and tricks on the Braintree integration
Note 1. Synder currently imports gross amounts from Braintree, which means that fees and payouts need to be entered manually in your accounting system.
- Fees: you may want to create one batch expense for all the fees for a week or a month instead of entering each fee.
- Money transfers: you may need to create transfers in your accounting company from the Braintree clearing to your business checking account to zero out the clearing account and reconcile checking.
Note 2. Synder protects your data with two flagship features: duplicate detector and rollback. You can give yourself peace of mind knowing that all the power is in your hands and your accounting is secured.
Note 3. Get familiar with the system in our 3 Must-Watch beginner guides and Features of Synder taking your experience to the next level to find out how Synder can help you automate your bookkeeping.
Reach out to the Synder team via online support chat, phone, or email with any questions you have – we’re always happy to help you!

