
Once you finish the connection and setup, we recommend testing Synder with several transactions to make sure everything looks good (remember, you have a free trial once you create a new account in Synder).
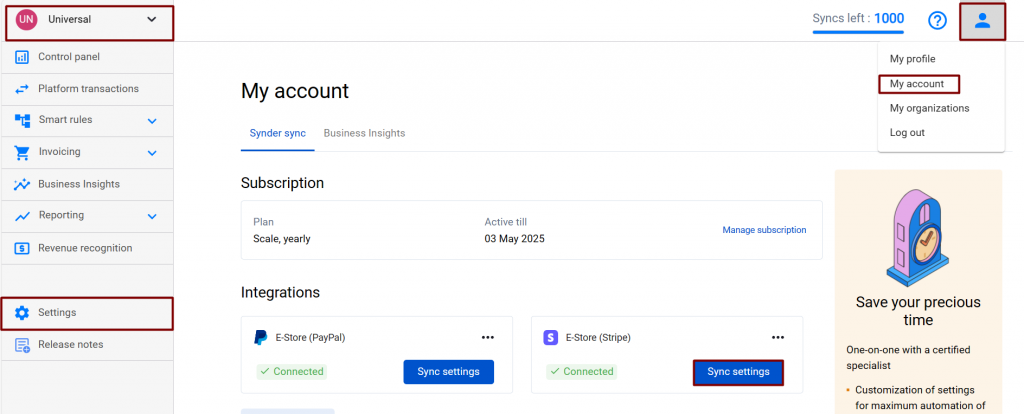
Once testing is done, you may be confident that automatic synchronization will save your time on manual data entry. The Auto-sync option is disabled by default. So, once you have tested everything and chosen the most suitable plan, select the organization needed at the top left of the page → go to the Settings on the left menu of Synder → choose the desired integration from the dropdown. Alternatively, click on the Person icon in the upper-right corner → hit Organization settings → click on Sync settings under your integration.
Go to the General tab → enable Auto-sync. Remember to click Update to save the changes.
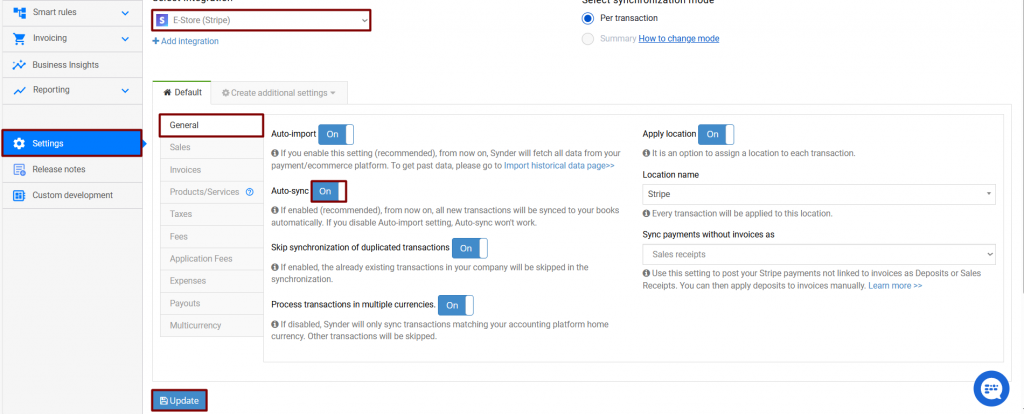
Once the auto-sync option is enabled, transactions coming in after the moment you have enabled the auto-sync configuration will reflect in your accounting company automatically without your confirmation or a need to log into Synder.
Note: this will work for newly appearing transactions, historical ones are to be synchronized manually, if that is needed. See how to import historical transactions into your accounting platform.
Reach out to the Synder Team via online support chat, phone, or email with any questions you have – we’re always happy to help you!
LET US SEE HOW THIS GOES.
Hello Ali! That sounds great. If you have any questions, please don’t hesitate to reach out at [email protected].
Does auto sync cost me if I don’t go over my monthly allowance It is a service that is included in my initial subscription payment, correct?
Hello Linda! Yes, Auto-sync is included in your subscription for all plans.
How frequent does the Auto-Sync run? How long before an invoice in Shopify shows up/syncs in QBO?
Hello Max, Auto-sync runs every 1-2 hours starting from the Medium plans. For lower plans, it runs once a day.