
Reconciliation in accounting is a critical process, serving as a check-and-balance for financial accuracy. It involves comparing two sets of records to ensure they are in agreement and accurate. In the context of QuickBooks, reconciliation typically refers to matching the transactions recorded in the software with external financial statements, such as bank and credit card statements. This process is vital in verifying that the records in QuickBooks accurately reflect a business’s financial transactions.
This article guides users through the detailed steps on how to reconcile in QuickBooks Online and QuickBooks Desktop, ensuring their financial data aligns seamlessly with bank and credit card statements. From preparing your documents to troubleshooting common reconciliation issues, we will offer practical tips, clear instructions, and insightful advice to make the process as straightforward and effective as possible.
Experience effortless synchronization of your e-commerce and online payment transactions with accounting software like QuickBooks and Xero. Simplify your financial management and take the first step toward seamless, error-free reconciliation!
What is reconciliation?
Reconciliation is an accounting process used to ensure that two sets of records (usually the balances of two accounts) are in agreement. It is a key step in establishing the accuracy of financial records and is often used to compare the records of a company with external records such as bank statements.
Reconciliation is crucial for maintaining accurate financial records, which are essential for effective financial management, compliance with laws and regulations, and providing stakeholders with reliable financial information. It is commonly used in banking (to reconcile a checkbook with a bank statement), in businesses (to reconcile revenue or expenses), and in personal finance management.
What does the reconciliation process look like?
In a typical reconciliation process, the first step involves comparing internal records with external records, such as matching the transactions in an organization’s financial records against those shown on a bank statement or another external financial document.
The next step is to identify any discrepancies between these two sets of records, which could be due to errors, omitted entries, or timing differences in recognizing transactions. Once these discrepancies are identified, they need to be thoroughly investigated. For instance, if a check issued by the company has not been cashed, it would show up in the company’s records but not on the bank statement.
Finally, after identifying and resolving these discrepancies, adjustments are made to the financial statements to reflect the reconciled balance, ensuring accuracy and consistency in the financial records.
Preparing for reconciliation
Before beginning the reconciliation process in QuickBooks, it’s essential to gather all the relevant financial documents. This typically includes:
- Bank statements: Obtain the latest statements for all the accounts you plan to reconcile. These statements provide a record of all transactions made within a specific period.
- Credit card statements: Similar to bank statements, these are necessary for reconciling credit card accounts and listing all charges and payments.
- Receipts and invoices: These help verify individual transactions and are particularly useful for cross-referencing expenses and income.
- Previous reconciliation reports: If you have reconciled your accounts before, previous reports can be a useful reference.
Recording all transactions in QuickBooks Online
When recording transactions in QuickBooks it’s important to ensure accuracy and completeness. This process involves checking that all income and sales are correctly entered and categorized. Additionally, verify that all expenses, including bills, receipts, and cash transactions, are up to date.
For bank transactions such as deposits, withdrawals, and fees, make sure each one is recorded; leveraging the QuickBooks bank feed feature can facilitate easier tracking and recording. Also, any adjustments or manual journal entries that have been made since the last reconciliation need to be accurately documented in the system.
How to reconcile accounts in QuickBooks Online
Now that we know how to prepare for the reconciliation process let’s begin our guide that will walk you through the steps to efficiently reconcile your accounts in QuickBooks Online.
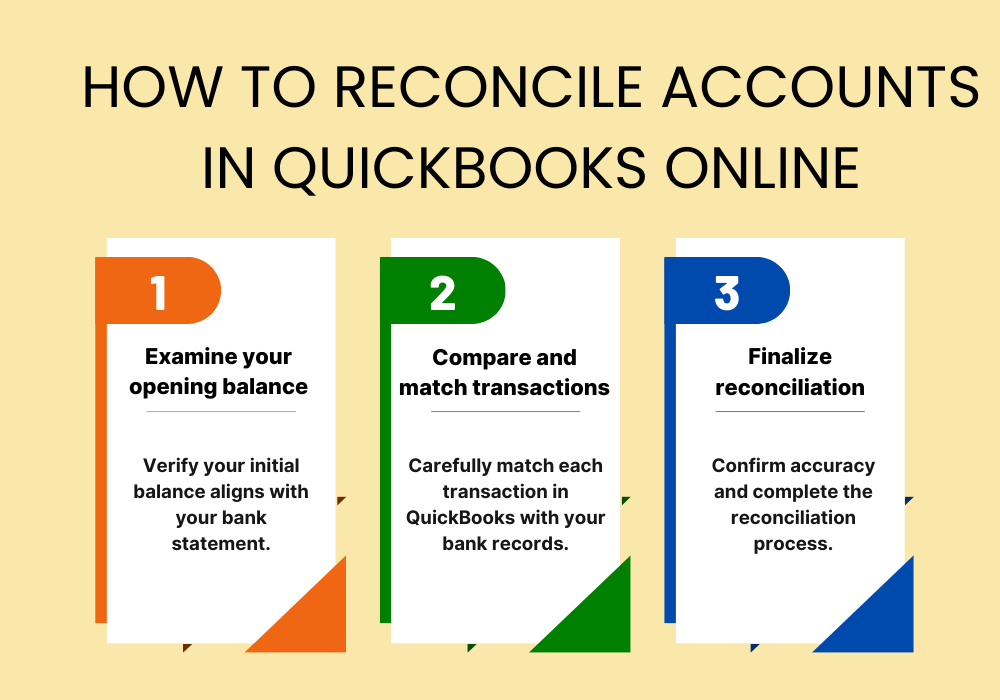
Step 1: Examine your opening balance
When conducting a first-time reconciliation, it’s crucial to ensure that the opening balance in QuickBooks Online aligns with the actual balance in your real-life bank account as of the date you began tracking transactions. Linking your bank and credit card accounts to online banking allows for the automatic downloading of transactions and entry of the opening balance into QuickBooks Online.
In cases where an opening balance wasn’t entered previously, QuickBooks Online provides the option to add it retrospectively.
Step 2: Begin reconciling process
For accounts connected to online banking, confirm that all transactions are accurately matched and categorized. To access the reconciliation tool in QuickBooks Online, navigate to Settings and then select Reconcile.
When choosing an account to reconcile, ensure it corresponds with the one on your statement. It’s crucial to verify that the beginning balance in QuickBooks Online matches the one in your statement, and any discrepancies should be investigated and rectified.
Proceed to enter the ending balance and date from your statement. If the last statement’s ending date is displayed, check it for accuracy to maintain continuity. Once all details are aligned and verified, you can start the reconciliation by selecting the Start reconciling option.
Step 3: Compare QuickBooks entries with statements transactions
When matching transactions, it’s important to compare each entry on your bank statement with the corresponding records in QuickBooks Online, paying close attention to dates and transaction details. If a transaction matches, mark it as reconciled by placing a checkmark next to its amount in QuickBooks Online. Transactions added or matched from online banking are usually pre-selected for convenience. If a transaction appears in QuickBooks Online but not on your statement, do not mark it. For any discrepancies, like a slight mismatch in payee details, simply edit the transaction in QuickBooks Online to align it with your bank statement. The goal is to have a zero difference between your statement and QuickBooks Online by the end of the process, at which point you can select Finish now.
For non-connected accounts, you follow the same path however, reconciliation requires manual entry and matching of transactions.
Additional step: Run reconciliation reports
To run a reconciliation report, navigate to Settings, choose Reconcile, and then select History by account. Conducting regular reconciliations ensures that your QuickBooks data accurately reflects your real-world bank and credit card statements, providing reliable financial insights crucial for your business’s success.
Is QuickBooks Online the same as QuickBooks Desktop?
QuickBooks Online is a cloud-based platform offering flexibility and accessibility from anywhere with an internet connection, operating on a subscription basis, and featuring automatic updates and backups. In contrast, QuickBooks Desktop is installed on a computer and involves a one-time purchase or an annual subscription, with manual updates and backups.
How to reconcile accounts in QuickBooks Desktop
If you want to reconcile in QuickBooks Desktop, this guide provides a detailed, step-by-step approach to help you through this process.
Step 1: Setting up for reconciliation in QuickBooks Desktop
Start by backing up your company file. In your first reconciliation, ensure that the opening balance in QuickBooks Desktop is in sync with the balance of your real-life bank account as of your chosen start date.
Prepare for the reconciliation by entering all transactions that occurred during the statement period you are about to reconcile.
Note: Make sure to leave out any transactions that have not yet cleared your bank and are not present on your statement.
Step 2: Initiating the reconciliation process
To begin your reconciliation, click the button Reconcile in the Banking menu of QuickBooks Desktop.
Select the appropriate bank or credit card account to reconcile from the Account field. Ensure that the Statement Date in QuickBooks Desktop corresponds with your actual bank statement, making adjustments as needed. QuickBooks Desktop will automatically generate a Beginning Balance based on your last reconciliation.
Input the Ending Balance from your bank statement and include any service charges and interest details, avoiding duplication of previously entered data in QuickBooks Desktop.
Verify the accuracy of all entered information and proceed by selecting Continue or OK. If there are any discrepancies in the beginning balance, utilize the Locate Discrepancies tool to find and resolve them. If necessary, make adjustments to the opening balance or opt to Undo Last Reconciliation to start anew.
Step 3: Matching and verifying transactions between bank statements and QuickBooks Desktop
Match each transaction listed in your bank statement with those in QuickBooks Desktop. In the Reconciliation window of QuickBooks Desktop, mark off each transaction that aligns with your bank statement.
Be careful not to reconcile transactions that are not yet cleared or present on your bank statement. Utilize the Items you’ve marked cleared section to compare the summary totals with those on your bank statement. If you need to edit or get more details on a transaction, select it for further action. To modify any information entered in the previous step, use the Modify option.
Step 4: Finalizing the reconciliation
Once the matching is complete, and the difference between your bank statement and QuickBooks Desktop shows $0.00, proceed to finalize the reconciliation by selecting Reconcile now. After completing the reconciliation, you have the option to display or print the Reconciliation report for record-keeping.
Reviewing past reconciliations
For reviewing past reconciliations, navigate to the Reports menu and select Reports Center. From here, you can access Previous Reconciliation reports. Choose the account you’ve reconciled and select the type of report you need, whether it’s detailed, summary, or both.
How Synder can ease the reconciliation process
If you would like to streamline your reconciliation process in QuickBooks, Synder is the answer. Synder is a comprehensive financial management software that specializes in automating accounting processes for businesses, particularly those operating in ecommerce and using online payment platforms. It facilitates seamless synchronization of sales, expenses, and transactions across various platforms into accounting software like QuickBooks, enhancing accuracy and efficiency in financial reporting and reconciliation.
Here’s how Synder assists with reconciliation:
- Automatic transaction import: Synder automates the process of importing transactions from various online payment platforms (like Stripe, PayPal, or Square) and ecommerce systems (such as Shopify or Amazon) into accounting software. This automation reduces the manual workload and minimizes errors associated with manual data entry.
- Synchronization of sales and expenses: The tool ensures that all sales, fees, expenses, and refunds are accurately recorded and synchronized with your QuickBooks accounting software. This comprehensive capturing of data helps maintain up-to-date and accurate financial records.
- Matching transactions: Synder can automatically match incoming transactions with existing entries in QuickBooks. This feature is particularly useful for reconciling bank deposits with sales transactions, helping to quickly identify discrepancies or unmatched transactions.
- Handling multi-currency transactions: For businesses dealing with multiple currencies, Synder efficiently manages currency conversions and reconciles transactions in different currencies, ensuring accurate financial reporting.
- Customization and flexibility: Synder allows customization of synchronization settings to fit specific business needs, which can be particularly beneficial for unique or complex reconciliation requirements.
- Error identification and correction: The tool assists in identifying errors or anomalies in transaction records, making it easier to correct them and ensure the accuracy of financial statements.
Ready to transform your financial reconciliation process? Sign up for Synder today or book a seat at a Weekly Public Demo to experience firsthand how Synder automates bookkeeping and accounting tasks for online transactions.
Troubleshooting common reconciliation issues in QuickBooks Online and QuickBooks Desktop
Troubleshooting reconciliation issues in QuickBooks demands a careful and methodical approach. By systematically addressing discrepancies, ensuring balance, and amending previously reconciled transactions correctly, the integrity of your financial records can be maintained.
In cases involving significant or complex issues, it is recommended to seek the assistance of an accounting professional.
Resolving QuickBooks bank statements discrepancies
When handling discrepancies between QuickBooks and your bank statements, start by comparing each transaction in QuickBooks against the bank statements to spot any differences.
Common causes of these discrepancies include missed transactions that are in the bank statement but not in QuickBooks, duplicate transactions recorded more than once, and incorrect transaction amounts. To resolve these issues, add any transactions that are missing in QuickBooks, delete or merge any duplicate entries, and correct the amounts for transactions that have been inaccurately recorded.
Balancing discrepant accounts
If your accounts do not balance, undertake a thorough review of all transactions for the statement period, paying close attention to the most recent transactions or those around the date of any identified discrepancies.
Adjusting entries may be necessary to correct these discrepancies, particularly in cases of bank errors or charges and fees not recorded in QuickBooks. Also, consider timing differences, such as checks that have been issued but not yet cashed, or bank fees that have yet to be recorded in QuickBooks.
Correcting previously reconciled transactions
To correct transactions that have already been reconciled, locate the transaction in question and remove the reconciliation marker, such as a checkmark, to un-reconcile it. Then, make the necessary changes to ensure the transaction details accurately reflect the actual transaction.
For small discrepancies, consider creating a reconciliation discrepancy account to track them. However, for more significant issues, it may be advisable to redo the reconciliation for the affected period, which could be a complex task requiring consultation with an accounting professional. Keep a record of all changes made for future reference and potential audits.
Mastering reconciliation in QuickBooks: Closing thoughts
Account reconciliation in QuickBooks is a pivotal task for maintaining accurate and reliable financial records. This guide has walked you through the essential steps of the reconciliation process, from preparing your documents to troubleshooting common issues.
For those new to QuickBooks or reconciliation, the process might seem daunting at first. However, with consistent practice and attention to detail, it becomes a manageable and integral part of your financial routine. Should you encounter complex issues, don’t hesitate to seek guidance from QuickBooks resources or consult with accounting professionals.
By regularly reconciling your accounts with your bank and credit card statements, you ensure the integrity of your financial data, enabling informed decision-making for your business.
Want to learn more about QuickBooks? Find out how to create an invoice in QuickBooks and how to write off bad debt in QuickBooks with our comprehensive guides.