Dealing with financial records often demands meticulous attention to detail. Occasionally, you may find yourself needing to nullify a transaction, such as voiding a check in QuickBooks Online.
This guide aims to navigate you through the process smoothly. We will provide two methods for voiding checks:
- directly from the Check page,
- from the Expense Transactions list without opening the transaction.
Additionally, it will provide you with insights into how to handle special scenarios in voiding checks in QuickBooks.
Ready to learn how to void checks in QuickBooks Online?
Voiding a check from the check page
If you want to ensure all financial details in your Checking Account are accurate, you need to review the initial transaction details. Voiding a check directly from the Check page allows you to do just that. Here’s how to proceed:
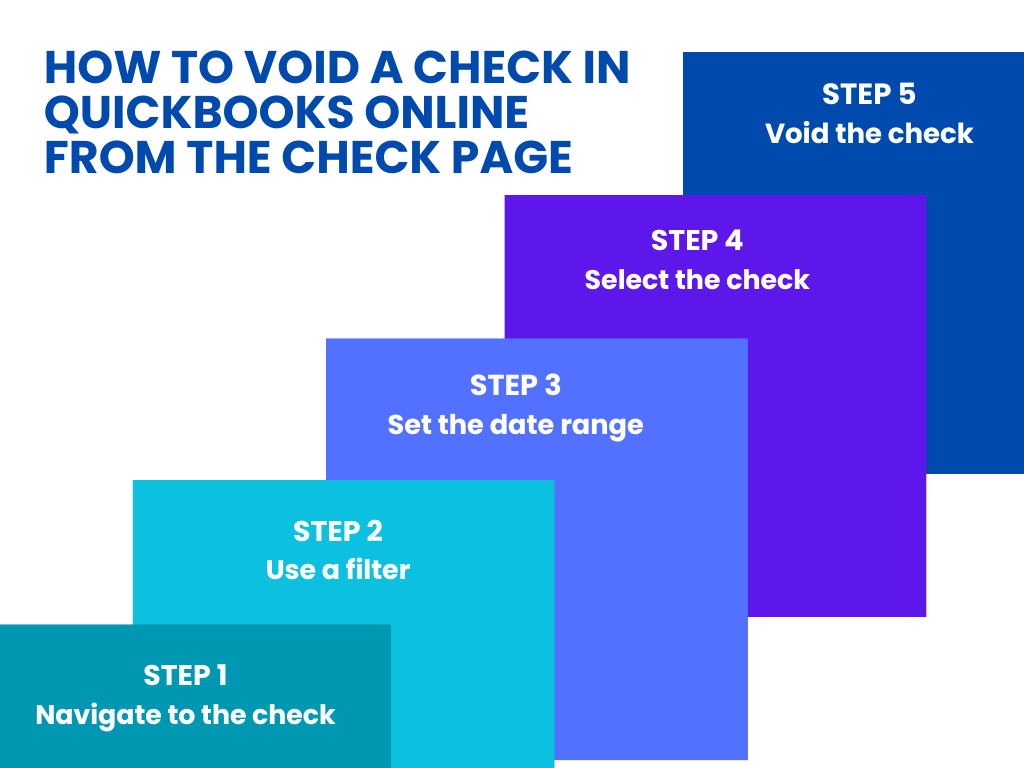
Step 1. Navigate to the check: Begin by going to Expenses and selecting it once more within the menu.
Step 2. Use a filter: Click on ‘Filter’ and, within the ‘Type’ field, choose ‘Check’.
Step 3. Set the date range: Specify the date range that includes the check’s issuance date, then click ‘Apply’.
Step 4. Select the check: Identify and select the check in QuickBooks Online, which will take you to the Check window.
Step 5. Void the check: Click on ‘More’, then click on ‘Void’ in the emerging pop-up menu. Affirm your choice by clicking ‘Yes’ when prompted.

Voiding a check without opening the transaction
QuickBooks Online allows you to void a check directly from the Expense Transactions list.
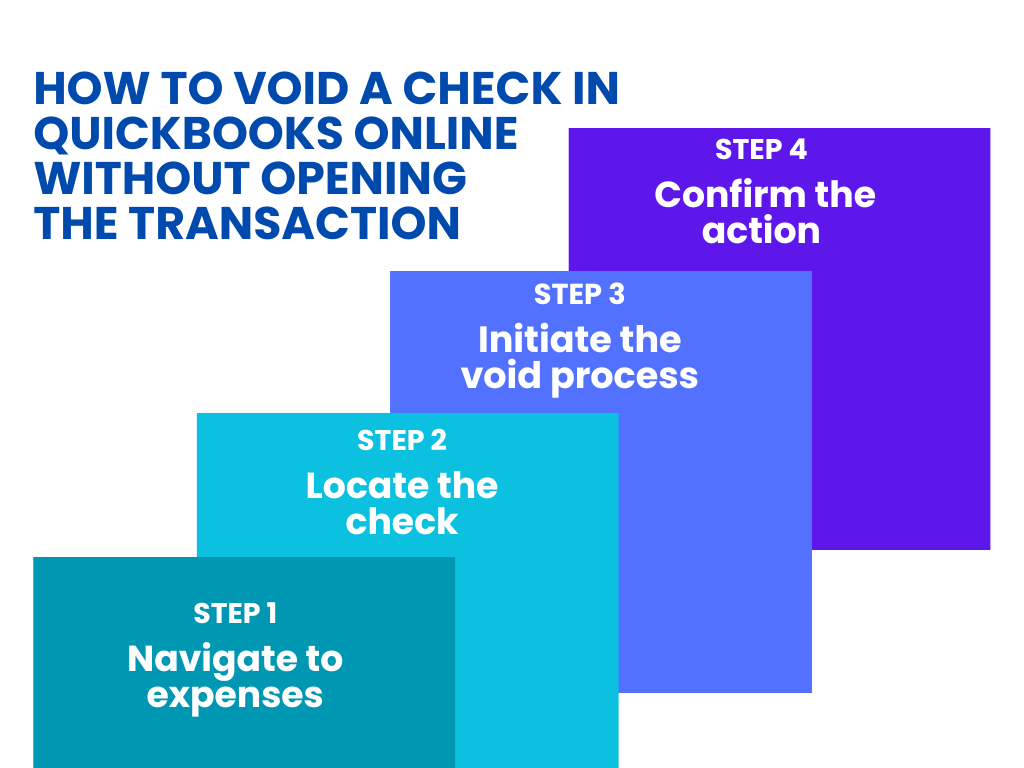
Step 1. Navigate to expenses: Go to and select ‘Expenses’.
Step 2. Locate the check: Find the check you aim to void in the Expense Transactions list.
Step 3. Initiate the void process: In the ‘Action’ column, find and select ‘Void’ in the ‘View/Edit’ dropdown menu.
Step 4. Confirm the action: Once prompted, solidify your action by selecting ‘Yes’.

Note that if you want to void a bill payment check or void a payroll check, the process is different.
Navigating special scenarios in voiding checks in QuickBooks Online
Voiding a check in QuickBooks Online is usually simple. However, it’s different if the check was never recorded in the first place.
Handling unrecorded original checks
To prevent potential issues like issuing another check with the same number, you must first insert the voided check into QuickBooks.
Here’s how to record a new voided check:
Step 1. Access banking: Click on the Gear icon, navigate to ‘Other’, and then click on the ‘Banking’ menu.
Step 2. Choose the relevant account: Select the appropriate bank account.
Step 3. Insert check details: Input all relevant check details, tagging it as “Voided check” and assigning an amount of $0.00.
This procedure ensures you document the check number in your register. This way, you erase the need for further actions while safeguarding against reusing that particular check number.
Addressing duplicate entries
If you issue the check twice, it will result in a duplicate entry with matching check number, payee name, and amount. In such cases it is better to delete instead of voiding. Simply do the following:
Step 1. Identify the duplicate: Locate the duplicate check.
Step 2. Delete: Click ‘Delete’ to permanently remove the duplicate from your records.
Note that it’s vital never to delete a voided check that possesses a unique check number. This is necessary to avert possible issues, like forgetting to reissue it or leaving the check susceptible to fraudulent activities.
Mitigating risks of check fraud
Voiding checks adequately and managing them post-voiding is pivotal to mitigating check fraud risks. After you void a check in QuickBooks, make sure you either securely store or destroy the physical check.
- Voiding physically: Write “VOID” across the check. Remember that marking the paper check “VOID” just in the memo field is not enough.
- Secure or destroy: Choose to either securely file the physical check or shred it to prevent potential misuse.
By adhering to these practices, you maintain an accurate record of your finances. Plus, you instill an additional layer of security to your financial management, safeguarding against potential future discrepancies.
Discover how long the IRS can hold your refund for review.
Need help with your QuickBooks accounting?
Synder is smart accounting software that integrates with QuickBooks. The software offers enhanced transaction organization, automation of accounting tasks, and improved data accuracy for businesses and accountants.
Synder streamlines managing transactions in QuickBooks. It fetches transactions automatically from platforms like Stripe and PayPal, ensuring accurate recording of sales, taxes, and fees. The tool also adeptly handles multiple currencies by converting using the exchange rate at the time of the transaction.
When it comes to reconciliation, Synder auto-matches transactions with bank statements and even allows for the addition of past data. The tool excels in providing detailed financial reports and customizing data synchronization to cater to specific business needs.
Synder provides an additional layer of accuracy using QuickBooks, which is pivotal for strategic planning and compliance. Ready to give it a try? Sign up for our all-inclusive 15-day free trial, or book a seat at our Weekly Product Demo. Make your QuickBooks accounting a breeze!
Closing thoughts
Now you know how to void a check in QuickBooks and keep your check register clean. You can easily do this with the help of two methods. In both methods, it’s imperative to note that voiding a check will alter your financial records. The transaction will still be visible, but the amount will be adjusted to zero, ensuring your books remain accurate and compliant.
Always review your financial statements and consult with your financial advisor or accountant if you need to make alterations.
Interested in QuickBooks-related topics? Read our articles:


