
- Go to Organization settings
- Select HubSpot and click Connect
- Choose your HubSpot account
- Authorize Synder in HubSpot
- Supported Transactions
This guide walks you through connecting HubSpot to Synder. Once connected, your HubSpot data syncs automatically to your accounting software. Let’s go through the steps:
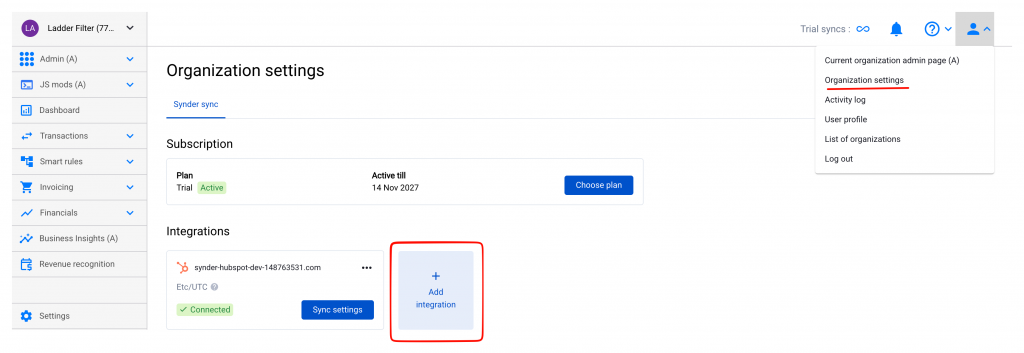
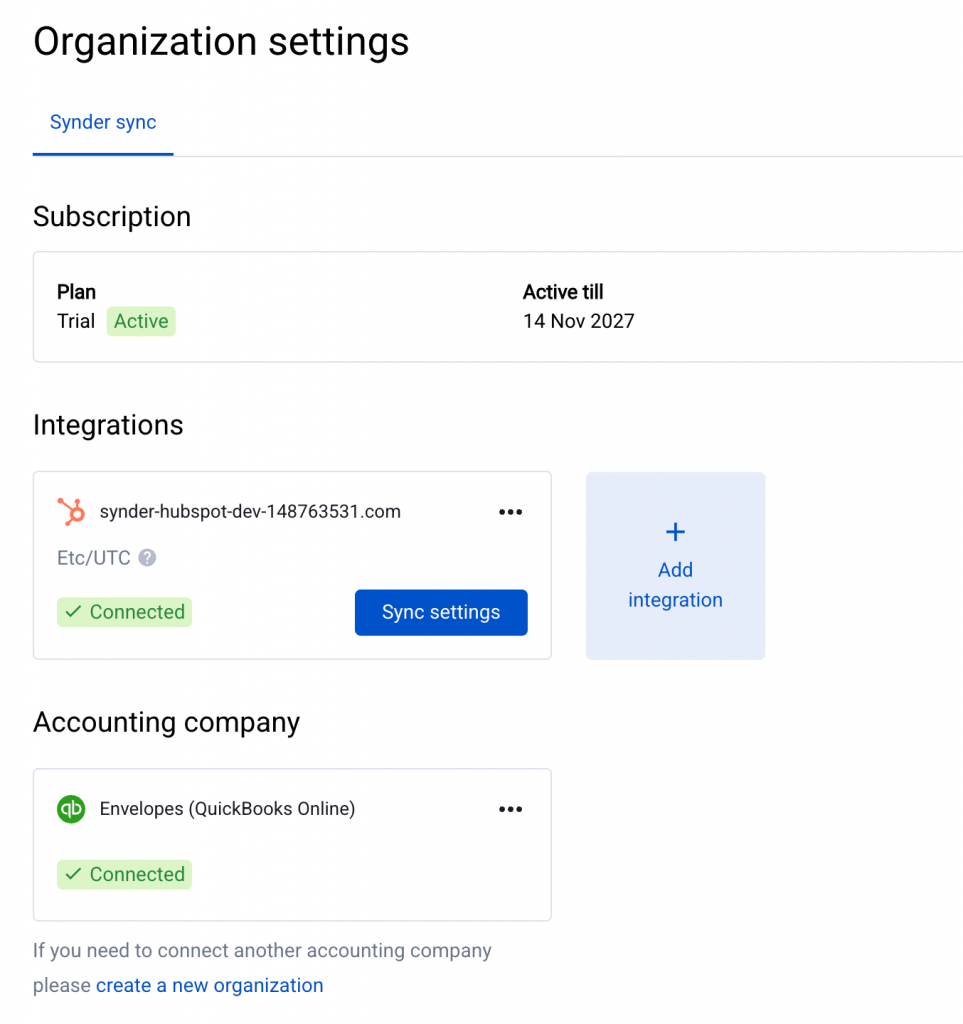
Go to Organization settings
- First, click Settings in the left sidebar.
- Next, go to Organization settings and select the Synder sync tab.
- Then, scroll down to the Integrations section and click + Add integration.
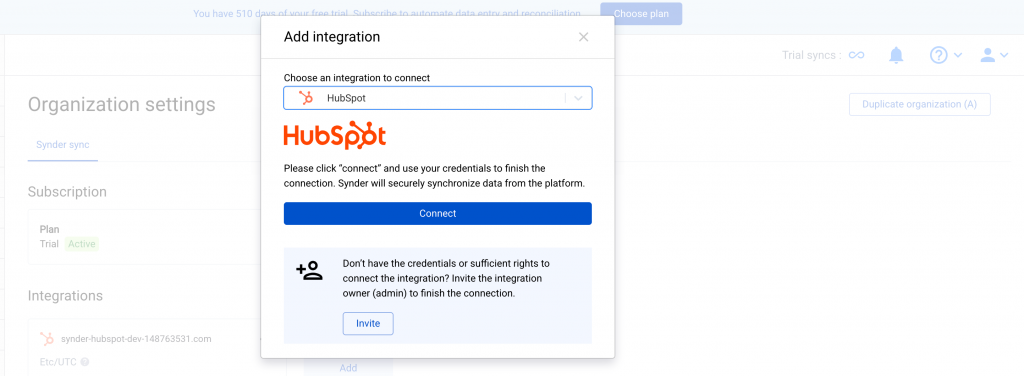
Select HubSpot and click Connect
- In the Add integration dialog, search for HubSpot using the dropdown, or scroll to find it.
- Next, select HubSpot from the results.
- Finally, click the Connect button.
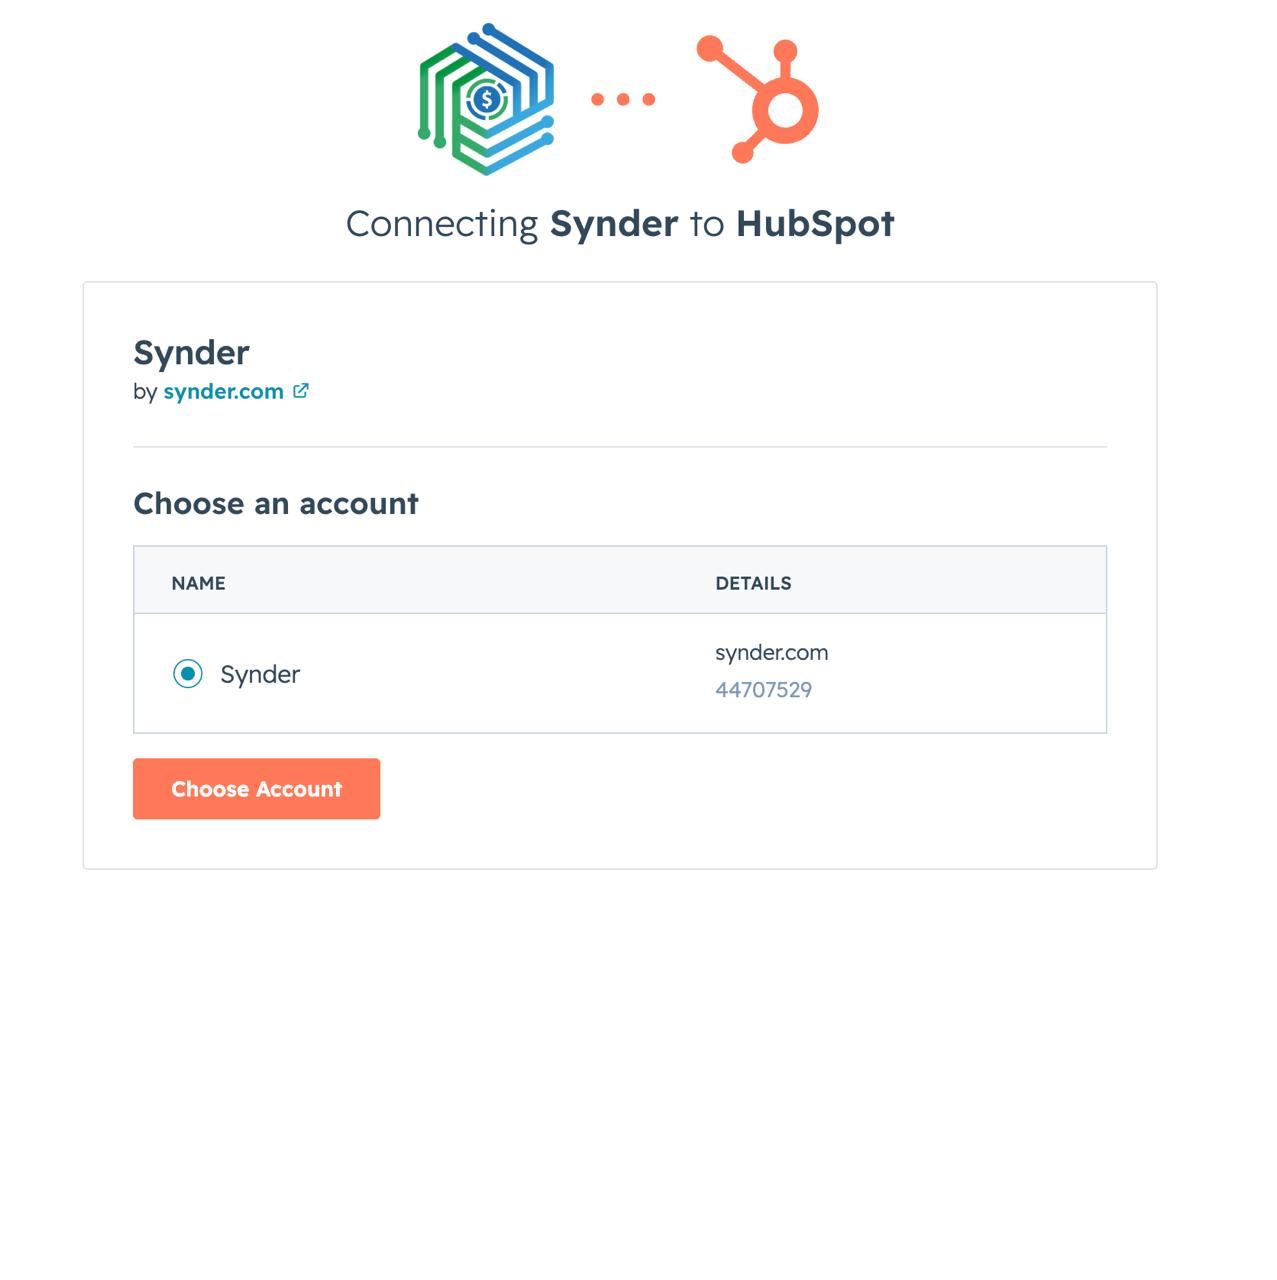
Choose your HubSpot account
- On the next screen, select the HubSpot account you want to connect to Synder.
- Then, click Choose Account to grant Synder access.
Authorize Synder in HubSpot
After you choose the account, Synder redirects you to HubSpot’s authorization page. Next, review the requested permissions and click Connect app to authorize Synder.
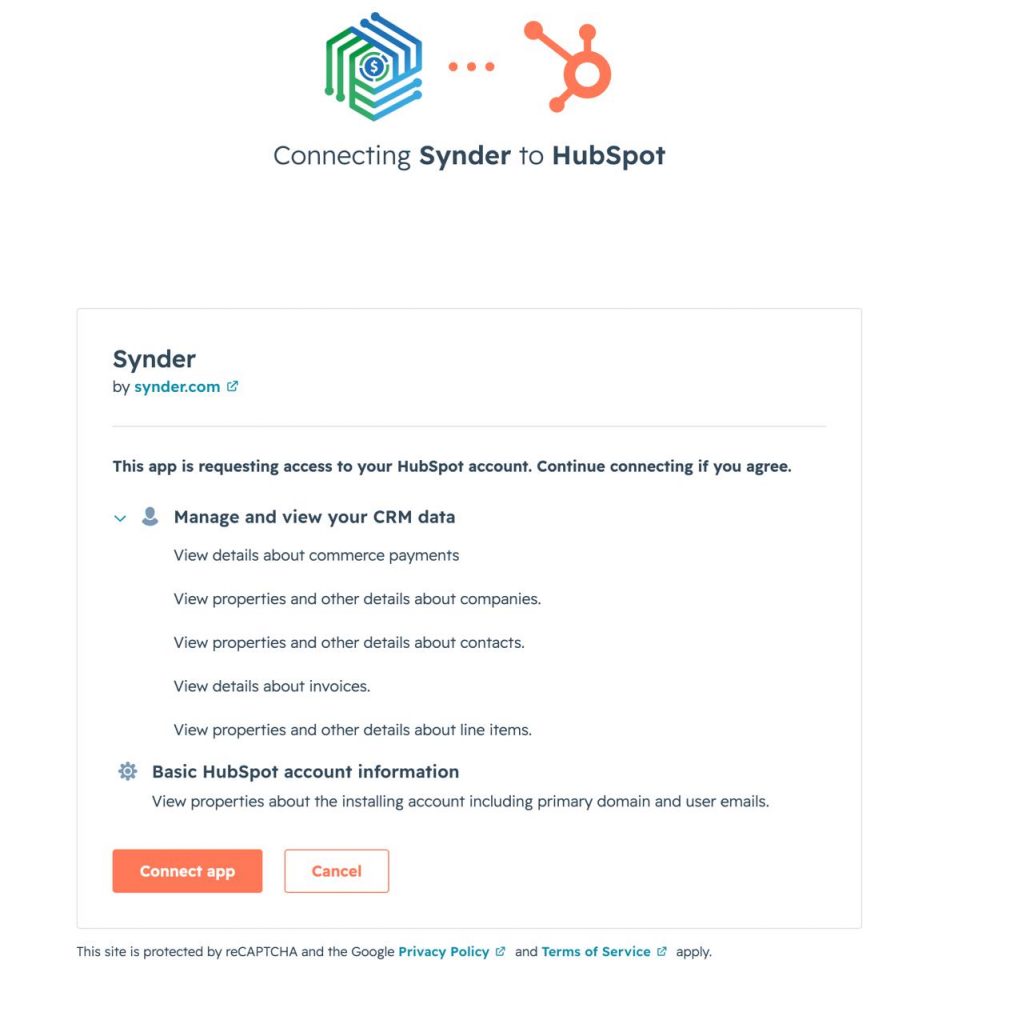
Congratulations! You have successfully connected HubSpot to Synder and can now start syncing data to your books.
Supported Transactions
Synder syncs the following transaction types from HubSpot:
- Paid Invoice — Creates an invoice and payment entry in your books, including the customer name and line item details.
- Invoice — Creates an invoice entry in your books with the customer name and line item details.
- Voided Invoice — If Synder already synced the original invoice, it creates a credit note to offset the Accounts Receivable balance.
Synder does not currently support Fees, Payouts, or COGS.
For any questions, reach out to the Synder team via online chat or email — we are always happy to help.