
In this guide, you’ll learn how to connect QuickBooks Desktop to the Synder connector step-by-step.
Overview:
Connecting QuickBooks Desktop company to the Synder connector
1. Create a free trial account.
2. Provide your Business details.
3. Select the platforms you would like to integrate.
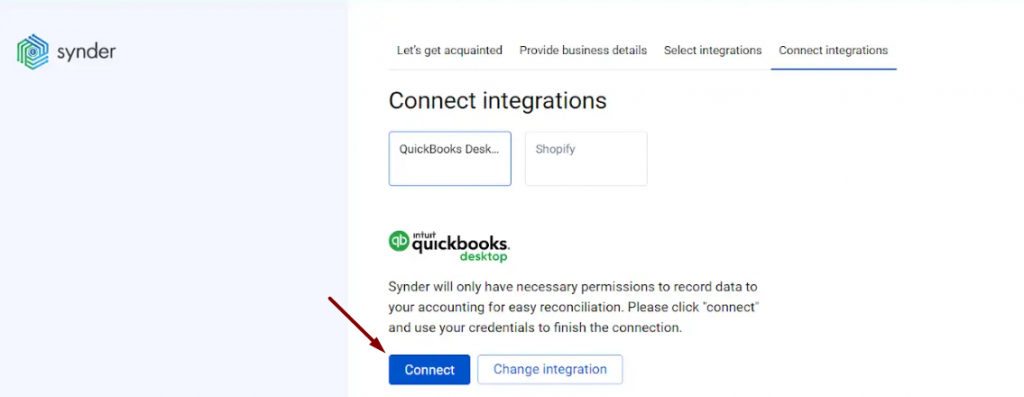
4. Select QuickBooks Desktop and click on Next step.
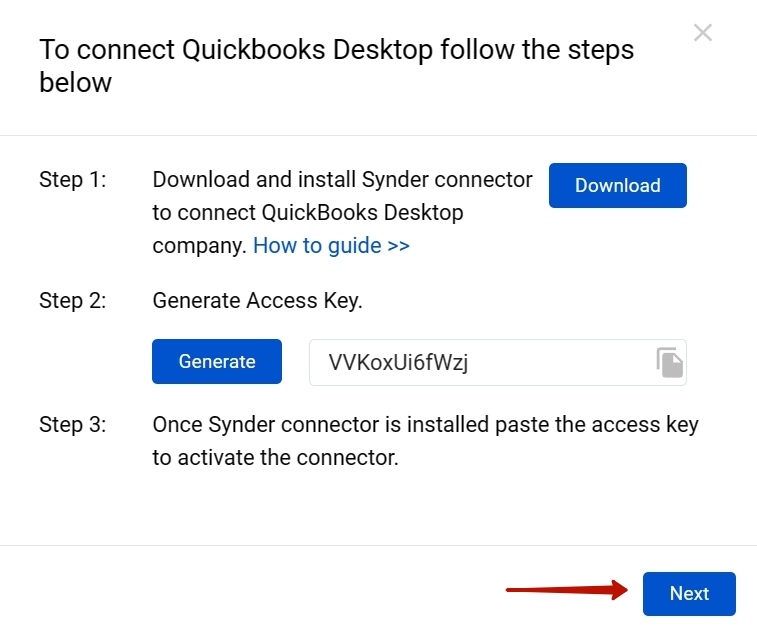
5. Hit the Connect button and follow a few simple steps to connect the Synder Desktop application:
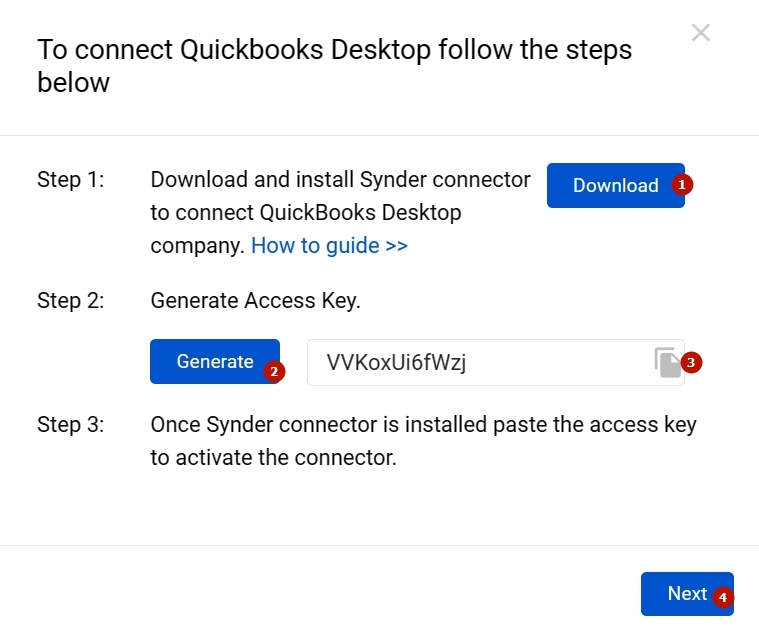
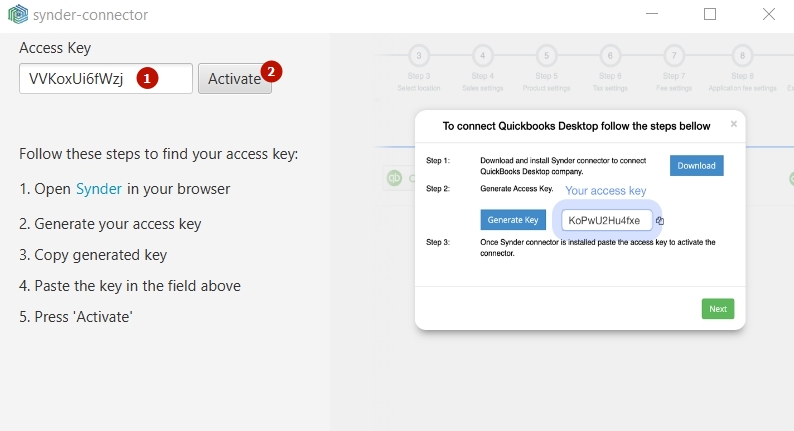
Step 1. Download the Synder Desktop application (1), generate the Key (2), and copy it to buffer (3).
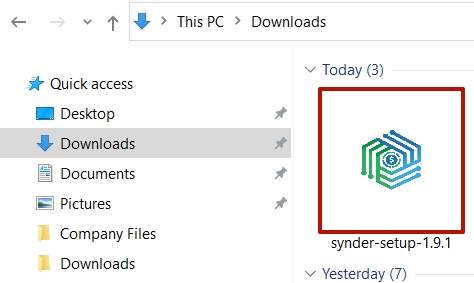
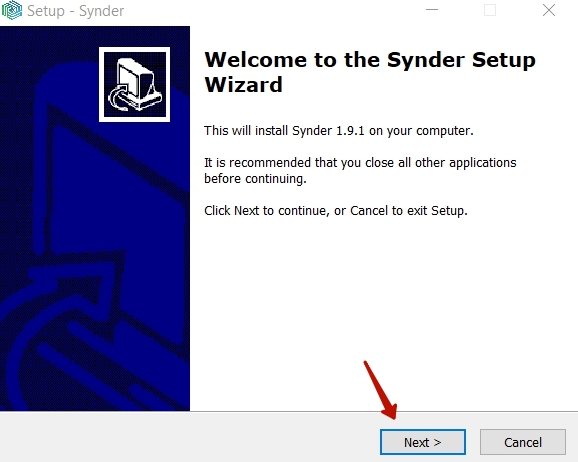
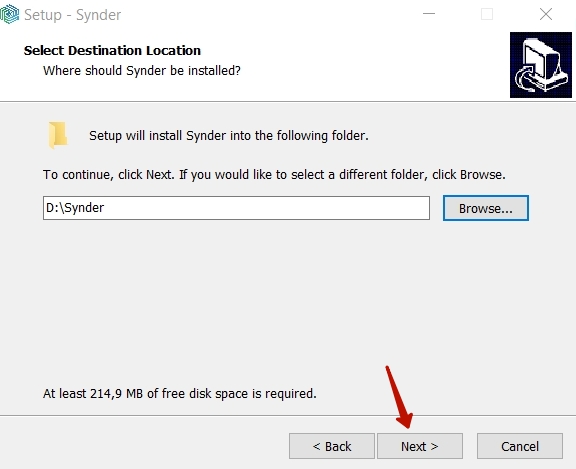
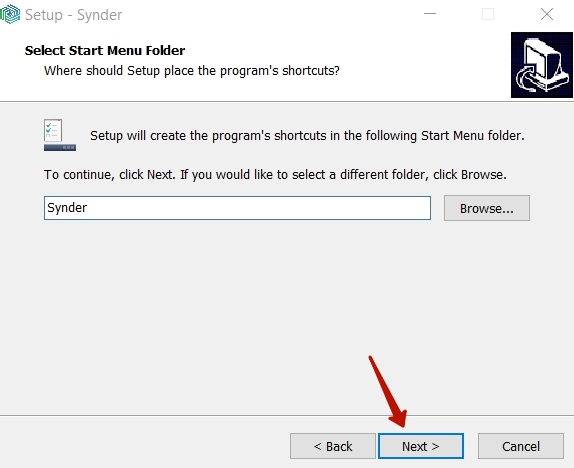
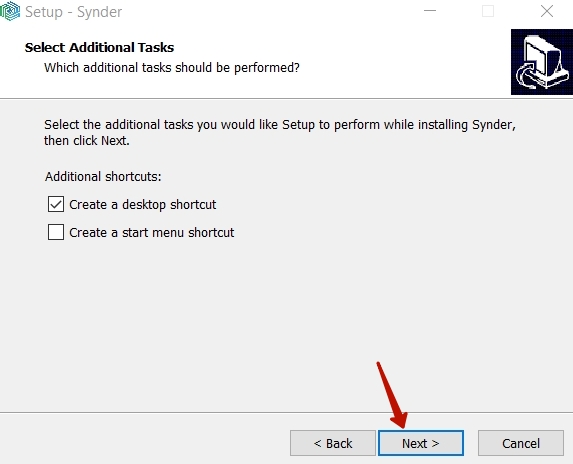
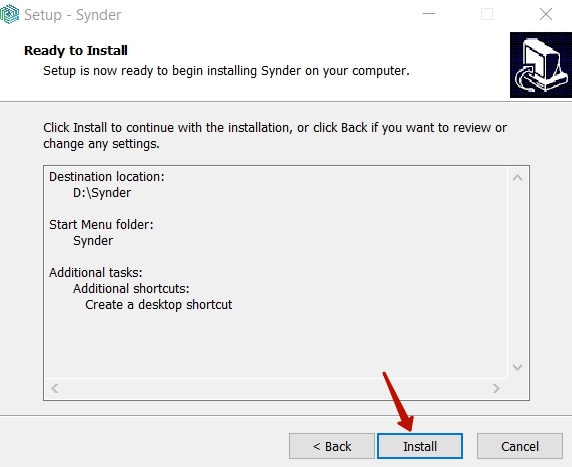
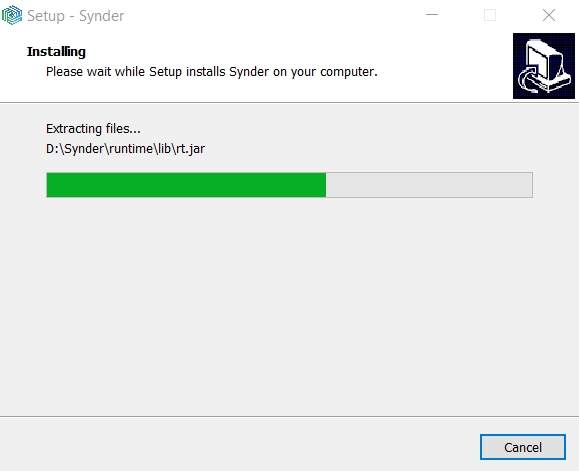
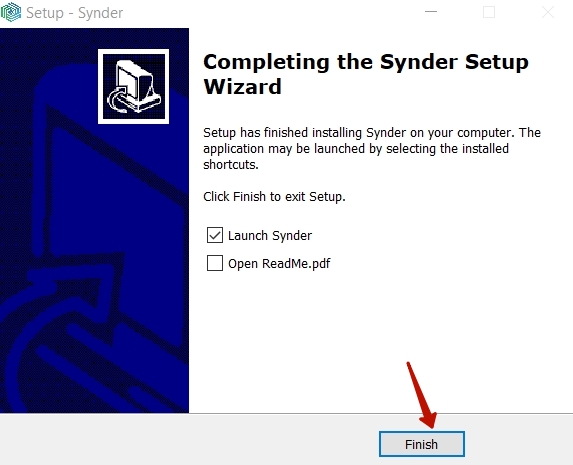
Step 2. Open the file “synder-setup.exe”.
Step 3. Mark the corresponding options (1,2) to set up the QuickBooks Certificate and click the Continue… button (3).

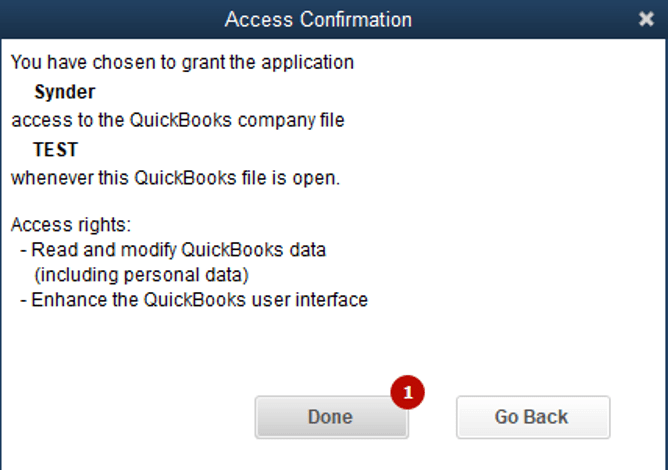
Step 4. Click the Done button to confirm.
Step 5: Paste the QuickBooks Connection access key that you copied from the Synder website form, click the Activate button.
Step 6: Return to the Synder website and click the Next button.
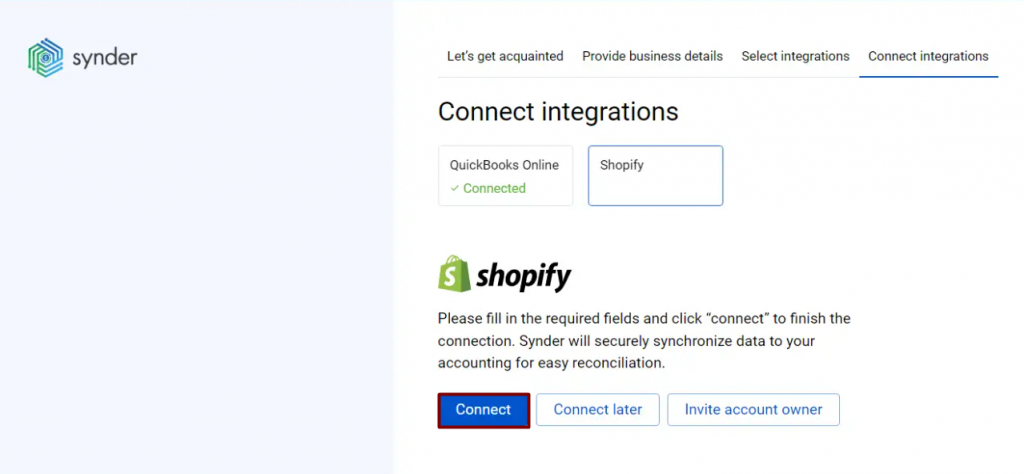
7. Connect your payment platforms and sales platforms to Synder
Almost there! To complete the setup, you just need to connect your payment platforms and sales channels to Synder. You can integrate them one by one straight away by following the steps on the screen:
Alternatively, you can skip the connection and set it up later in Settings. Click on the Person icon in the upper-right corner, select My account, and then click on Add integration.
Note: You can find our detailed guides on how to connect your sales channels and payment providers to QuickBooks Desktop via Synder in our Help center.
Adding another company (client) to Synder
To connect a new company in addition to an already existing one, click on your current organization in the upper left corner → hit Create organization or Connect client (learn more about Organizations management in Synder):

Follow the instructions above, starting from point 2. Provide your business details.
Important notes
Note 1: Taxes are recorded as line items in Sales Receipts and Invoices. When taxes are recorded as a product line, they will not show up in tax reporting and will be reflected as a part of income.
Note 2: Initially, you will need to connect QuickBooks Desktop in the single-user mode, also you should have the admin role for both QuickBooks Desktop and Synder Connector. Later on, launching QuickBooks Desktop will not require admin rights and the mode.
Note 3: If your QuickBooks Desktop is installed on a hosted environment, then Synder Connector should be installed on the same server as well.
Note 4: To be able to sync your transactions, you will need to have QuickBooks Desktop, Synder Connector, and the Synder site launched simultaneously. Learn more about QuickBooks Desktop connection troubleshooting.
Reach out to the Synder Team via online support chat, phone, or email with any questions you have – we’re always happy to help you!