
.png)

If you’re a business owner, chances are that you use many tools and apps. One of the must-haves is Square, which you can use either for card payments, managing your item library, or tracking sales.
Keeping your Square account updated, especially with regards to bank account information, is very important for the smooth running of operations. This may be the case if you need to change bank account, switch to a different transactional bank account, close an old Square checking account, or update your business information.
In this step-by-step guide, we’ll walk you through how to remove a bank account from Square and update bank account information.
Key takeaways:
- Square integrates with your bank to handle payments and deposits smoothly.
- Square offers a Square checking account, a transactional bank account, and a new bank account for future transactions.
- Before switching accounts, make sure your new account is ready and verified, and your Square balance is zero.
Contents:
1. Why you might need to change your bank account
3. Steps to remove your bank account from Square
5. Take the hassle out of Square payments with Synder
Why you might need to change your bank account
Sometimes, the bank account you started with back in the day just doesn’t cut it anymore. Let’s take a look at a few reasons why you might consider switching things up:
- If your bank is piling on fees – monthly, transaction, ATM – it might be time to close your current bank account.
- Ever felt like you’re banging your head against a wall trying to get help from your bank? It’s probably time to switch to a new bank account.
- Few branches or ATMs and outdated online banking can be deal-breakers.
- As your business grows, you might need better cash management, higher transaction limits, or more integration with tools like Square.
- You simply want to consolidate your finances into a single transactional bank account.
Whatever the reason, switching your bank account in Square isn’t as daunting as it sounds. Once you’ve chosen your new bank, updating your account info in Square is a breeze. In this guide, we’ve got you covered. Now, let’s get into the details.
Prepping for the switch
Before you remove your current bank account from Square, there’re a few things you need to check off your list:
- Ensure your new bank account is set up. Double-check that it’s active and ready for transfers.
- Make sure your Square balance is zero. You don’t want any pending payments floating around during the switch.
- Check the bank verification status of your new bank account. It needs to be verified by Square before you can make the swap.
Steps to remove your bank account from Square
Let’s get down to business. Here’s a step-by-step guide to removing your bank account from Square.
Step 1. Sign in to your Square account
First of all, you need to go to the Square account and sign in on the online Square dashboard.
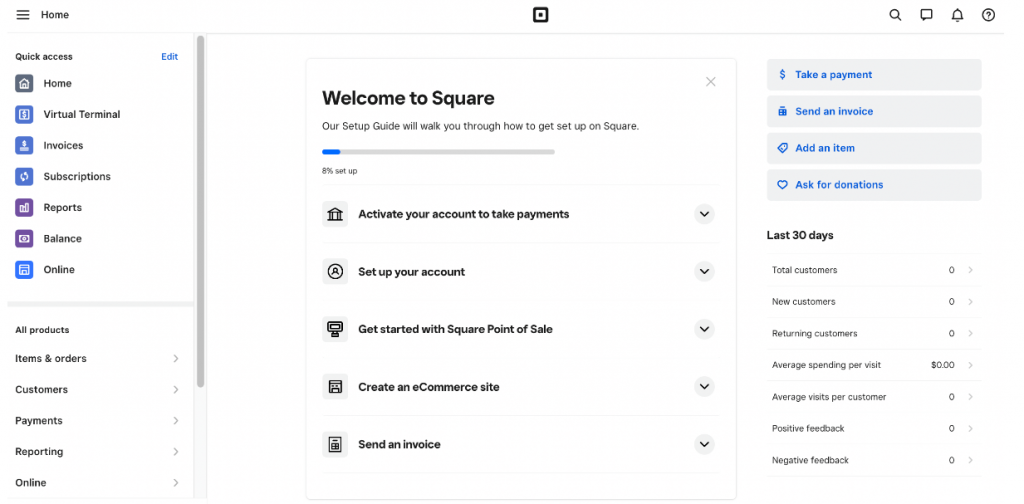
Square dashboard login page
Alternatively, you can sign in with the help of the Square dashboard app. Before you begin, you should have your email address and password ready.
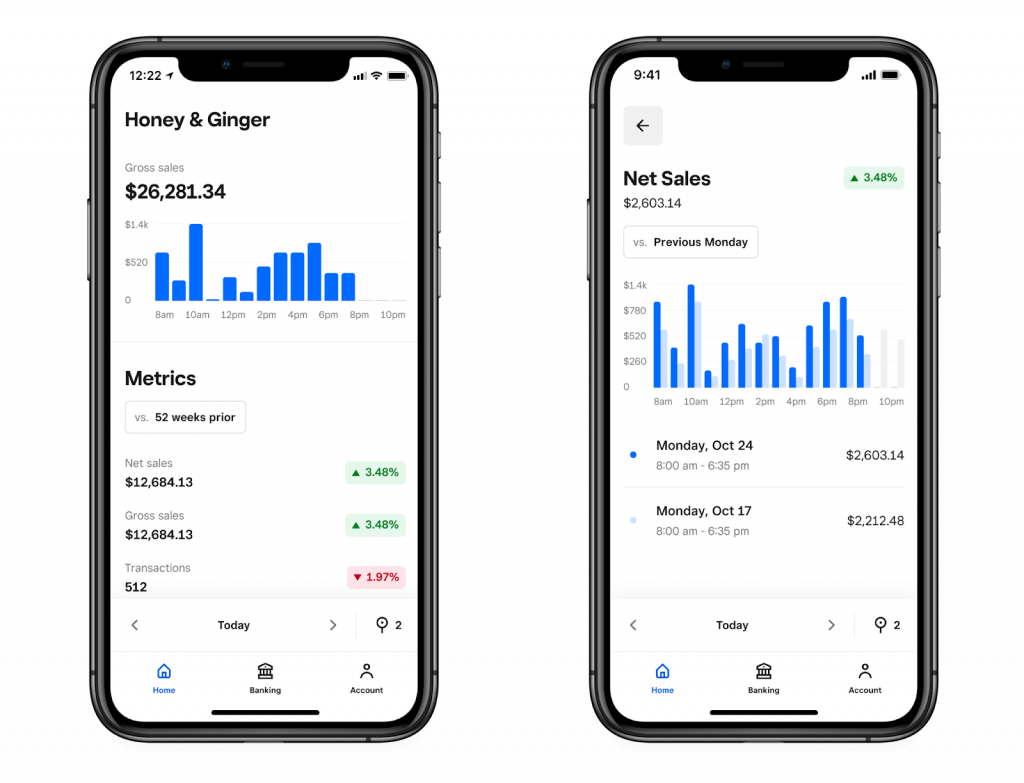
Square dashboard app
Step 2. Go to account settings
Once you’re in the dashboard, head over to the account settings section. This is where you’ll see a list of your bank accounts linked to your Square account. Find the current bank account you want to remove. This might be labeled as your transactional bank account.
Step 3. Remove your current bank account
Click on your current bank account and start the deactivation process. Square might ask you to confirm your choice, so be ready to click a few confirmation buttons.
Adding a new bank account
After you’ve removed the old bank account, you’ll probably want to add a new bank account. Here’s how to do it:
Step 1. Go back to the bank account settings
Navigate back to the Manage bank account settings section in your online Square dashboard or Square dashboard app.
Click on the Add a new bank account option. Square will need to verify it, so you’ll have to enter your new bank account information, including the account number and routing number. As you continue managing your payment options, it’s essential to consider whether the Square Terminal or Square Reader suits your business best.
Step 2. Enter and verify bank account details
Once you’ve entered your new bank account details, Square will initiate the bank verification status process. This typically involves Square depositing a small amount into your new bank account to confirm its authenticity. This can take a few business days, so be patient and keep an eye on your new account for these deposits.
Small tip: If the bank verification status process is taking longer, double-check the bank account information you provided for any errors.
Step 3. Confirm bank verification
After you see the deposit in your new bank account, return to your Square dashboard to confirm the bank verification status. This step is important to ensure your Square balance is correctly transferred to the new transactional bank account. This step is important to ensure your Square balance is correctly transferred to the new transactional bank account. Keep in mind that Square payment processing time can vary depending on the payment method, typically taking 1 – 2 business days to transfer funds to your bank account.
Small tip: If you notice any missing transfers after updating your bank account, it’s best to contact Square support. Square’s customer service can help trace the missing funds and ensure everything is correctly set up. You can reach the support team via phone number or email address listed on their website.
Want to manage Square payments with ease? We’ve got just the thing for you.
Take the hassle out of Square payments with Synder
Keeping your Square transactions in check can be a real headache. With mixed-up dates, amounts, and the constant chance of losing track, it’s enough to drive anyone crazy. Luckily, Synder is here to save the day. This accounting automation app integrates with over 30 payment channels, including Square, and syncs them with accounting software like QuickBooks, Xero and Sage Intacct.
How does it work?
Let’s take a look at how the Square QuickBooks Online integration via Synder works. Synder grabs not only real-time but also historical data from your Square account and zips it straight into QuickBooks Online. This way, your financial records are always up-to-date and ready for smooth reconciliation with your bank statements. And there’s more.
Why use Synder?
- You don’t have to manually assign categories and classes to each transaction. Synder does it for you based on your pre-set preferences in the settings.
- Synder connects Square Gift Cards to the correct Liability account, so your books stay squeaky clean and accurate, avoiding any mix-ups with the Product Income account.
- Synder simplifies Square Cash transactions by creating a Sales Receipt in QuickBooks and depositing it into a designated Square clearing account. You can also customize how cash payments and refunds are handled.
- If you’re using Stripe or Square, Synder lets you create QuickBooks invoices, take credit card payments, set up recurring bills, and even send out an instant checkout link to get paid directly.
- With Synder, you get detailed insights into your cash flow, ensuring your P&L reports are spot on.
Final thoughts
Updating or removing a bank account from your Square account doesn’t have to be a complicated task. With the help of the detailed steps described in this article, you’ll be able to successfully transfer to your new bank account. Always double-check your bank account information and be sure to complete the bank verification status to avoid Square balance crashes. With these tips, you’re now ready for any kind of change to your Square bank accounts and keep your transactions in check.
If you manage multiple transactions or find it challenging to keep track of financial records, consider integrating accounting automation apps like Synder. These tools take the weight off your shoulders by syncing your Square transactions with your accounting software, automatically sorting out categories, and making sure everything adds up perfectly. Keeping everything automated means you’ll have fewer headaches and more time to focus on what really matters – your business.
Share your thoughts
Have you ever had to change your bank account linked to your Square account? Did you face any issues? Can you share any advice? Let us know how you manage your Square account updates in the comment section below!


Thanks for the guide on account removal from Square. This info will be useful for my business Nacstaccs.