
Overview:
Payment links feature in Synder
If you want to receive instant payments from your clients and automate your books, the Payment links feature can be a real helper on this. You just need to generate a link and send it via email to your clients or insert it on your website/social network. Let’s say you sell pillows and have an Instagram account. You can insert a generated in Synder link on your Instagram. So to purchase a pillow, your clients just need to follow the link and pay with a credit card. As the result, you get a payment in Stripe or Square and Synder creates a sales receipt along with expenses for Stripe and Synder fees in your QuickBooks automatically.
How to help to your customers to pay your services
First, make sure you have connected your QuickBooks Online company and your Stripe or Square account. This will give you the opportunity to send the link to your customers to pay you.
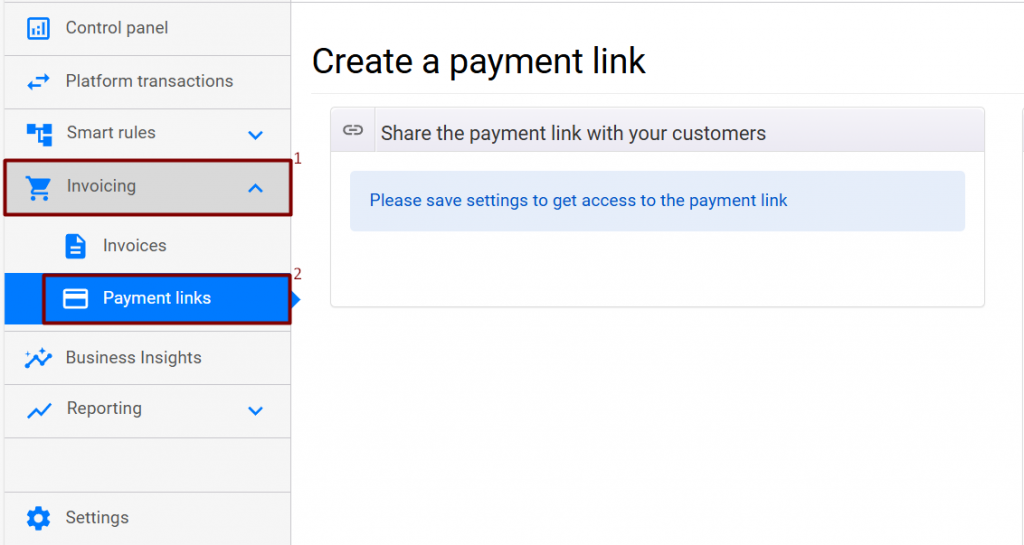
To enable this feature, go to the Invoicing tab (1) and choose Payment links (2).
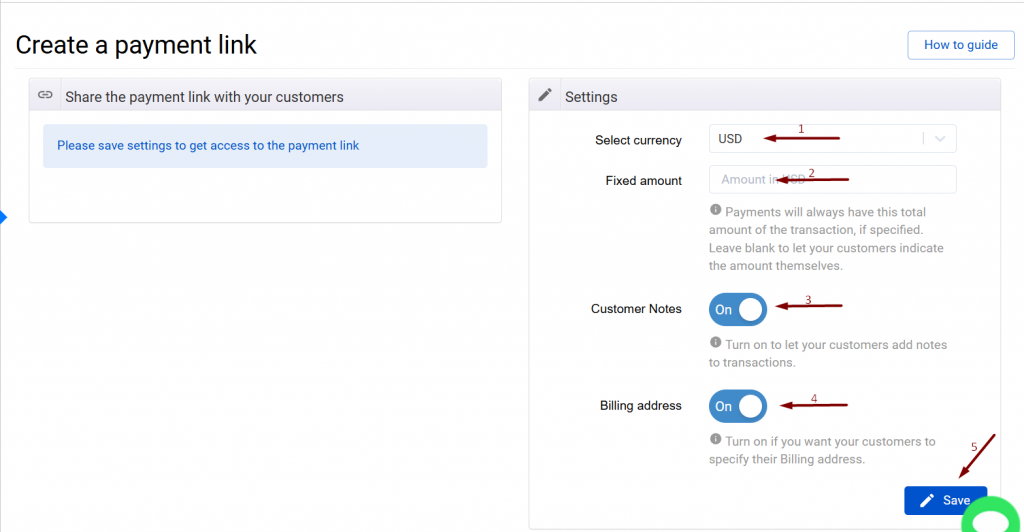
After that, you need to create settings for a link. Follow the steps below:
- Select currency – set the currency to receive payments in.
- Fixed amount – you can specify a fixed total amount to pay. So, following the link, your customers will pay this specific total. Leave the field blank if you want customers to specify a total amount to pay themselves.
- Customer notes – if turned on, your customers will have an option to add notes to payments.
- Billing address – if turned on, your customers will have an option to specify their billing address if needed.
- Click on the Save button to save settings.
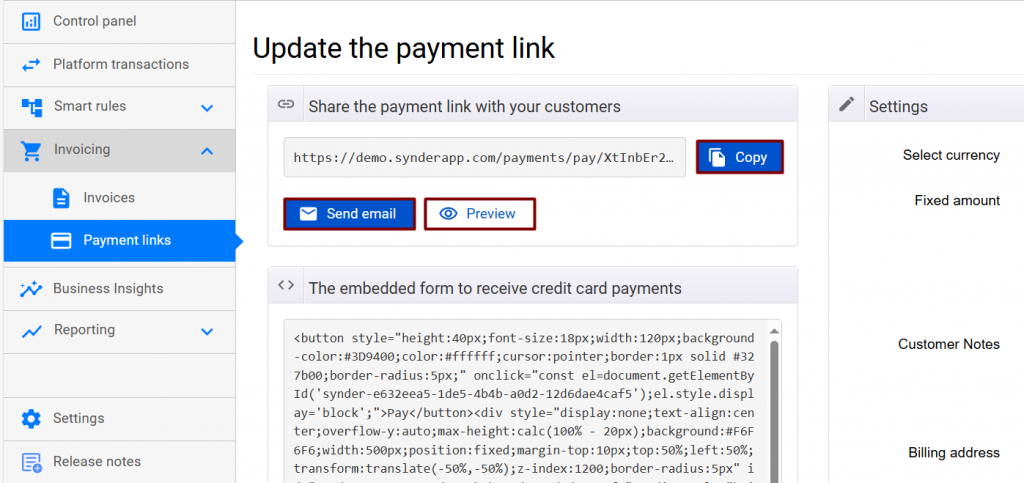
Once the settings are saved, you can preview a payment.
There are 2 ways the payment link can be used:
- You can send it via email to your customers. You will be redirected to your email page. Just enter the subject and the email of the customer.
- You can copy the link and insert it on your website or social network.
Here it is!
Reach out to the Synder team via online support chat, phone, or email with any questions you have – we’re always happy to help you!