
Oracle NetSuite is a powerful enterprise-grade accounting and ERP platform, so setting it up with Synder takes a bit more work than with consumer-grade accounting systems. Still, the process is straightforward. Follow the steps in this guide to set up your NetSuite integration and start syncing data seamlessly.
- Setting up Oracle NetSuite integration with Synder
- Enabling the RESTlet script for Per Transaction mode
- Reconnect Oracle NetSuite to Synder for your existing organisation
Setting up Oracle NetSuite integration with Synder
- Create a free trial account.
- Provide your business details.
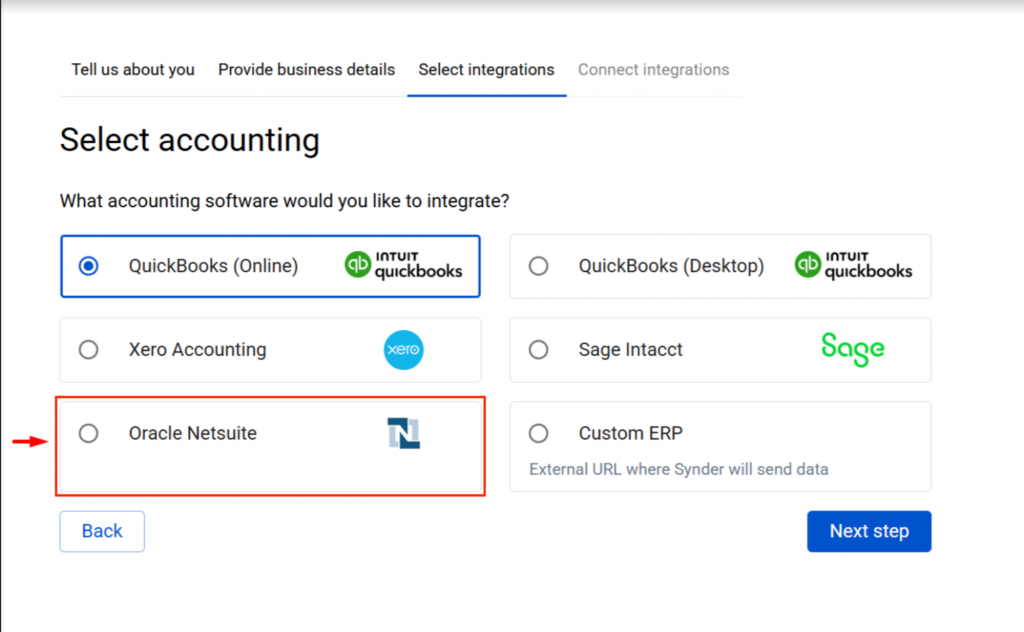
- Select the platforms you would like to integrate.
- Select Oracle NetSuite and click on Next step.
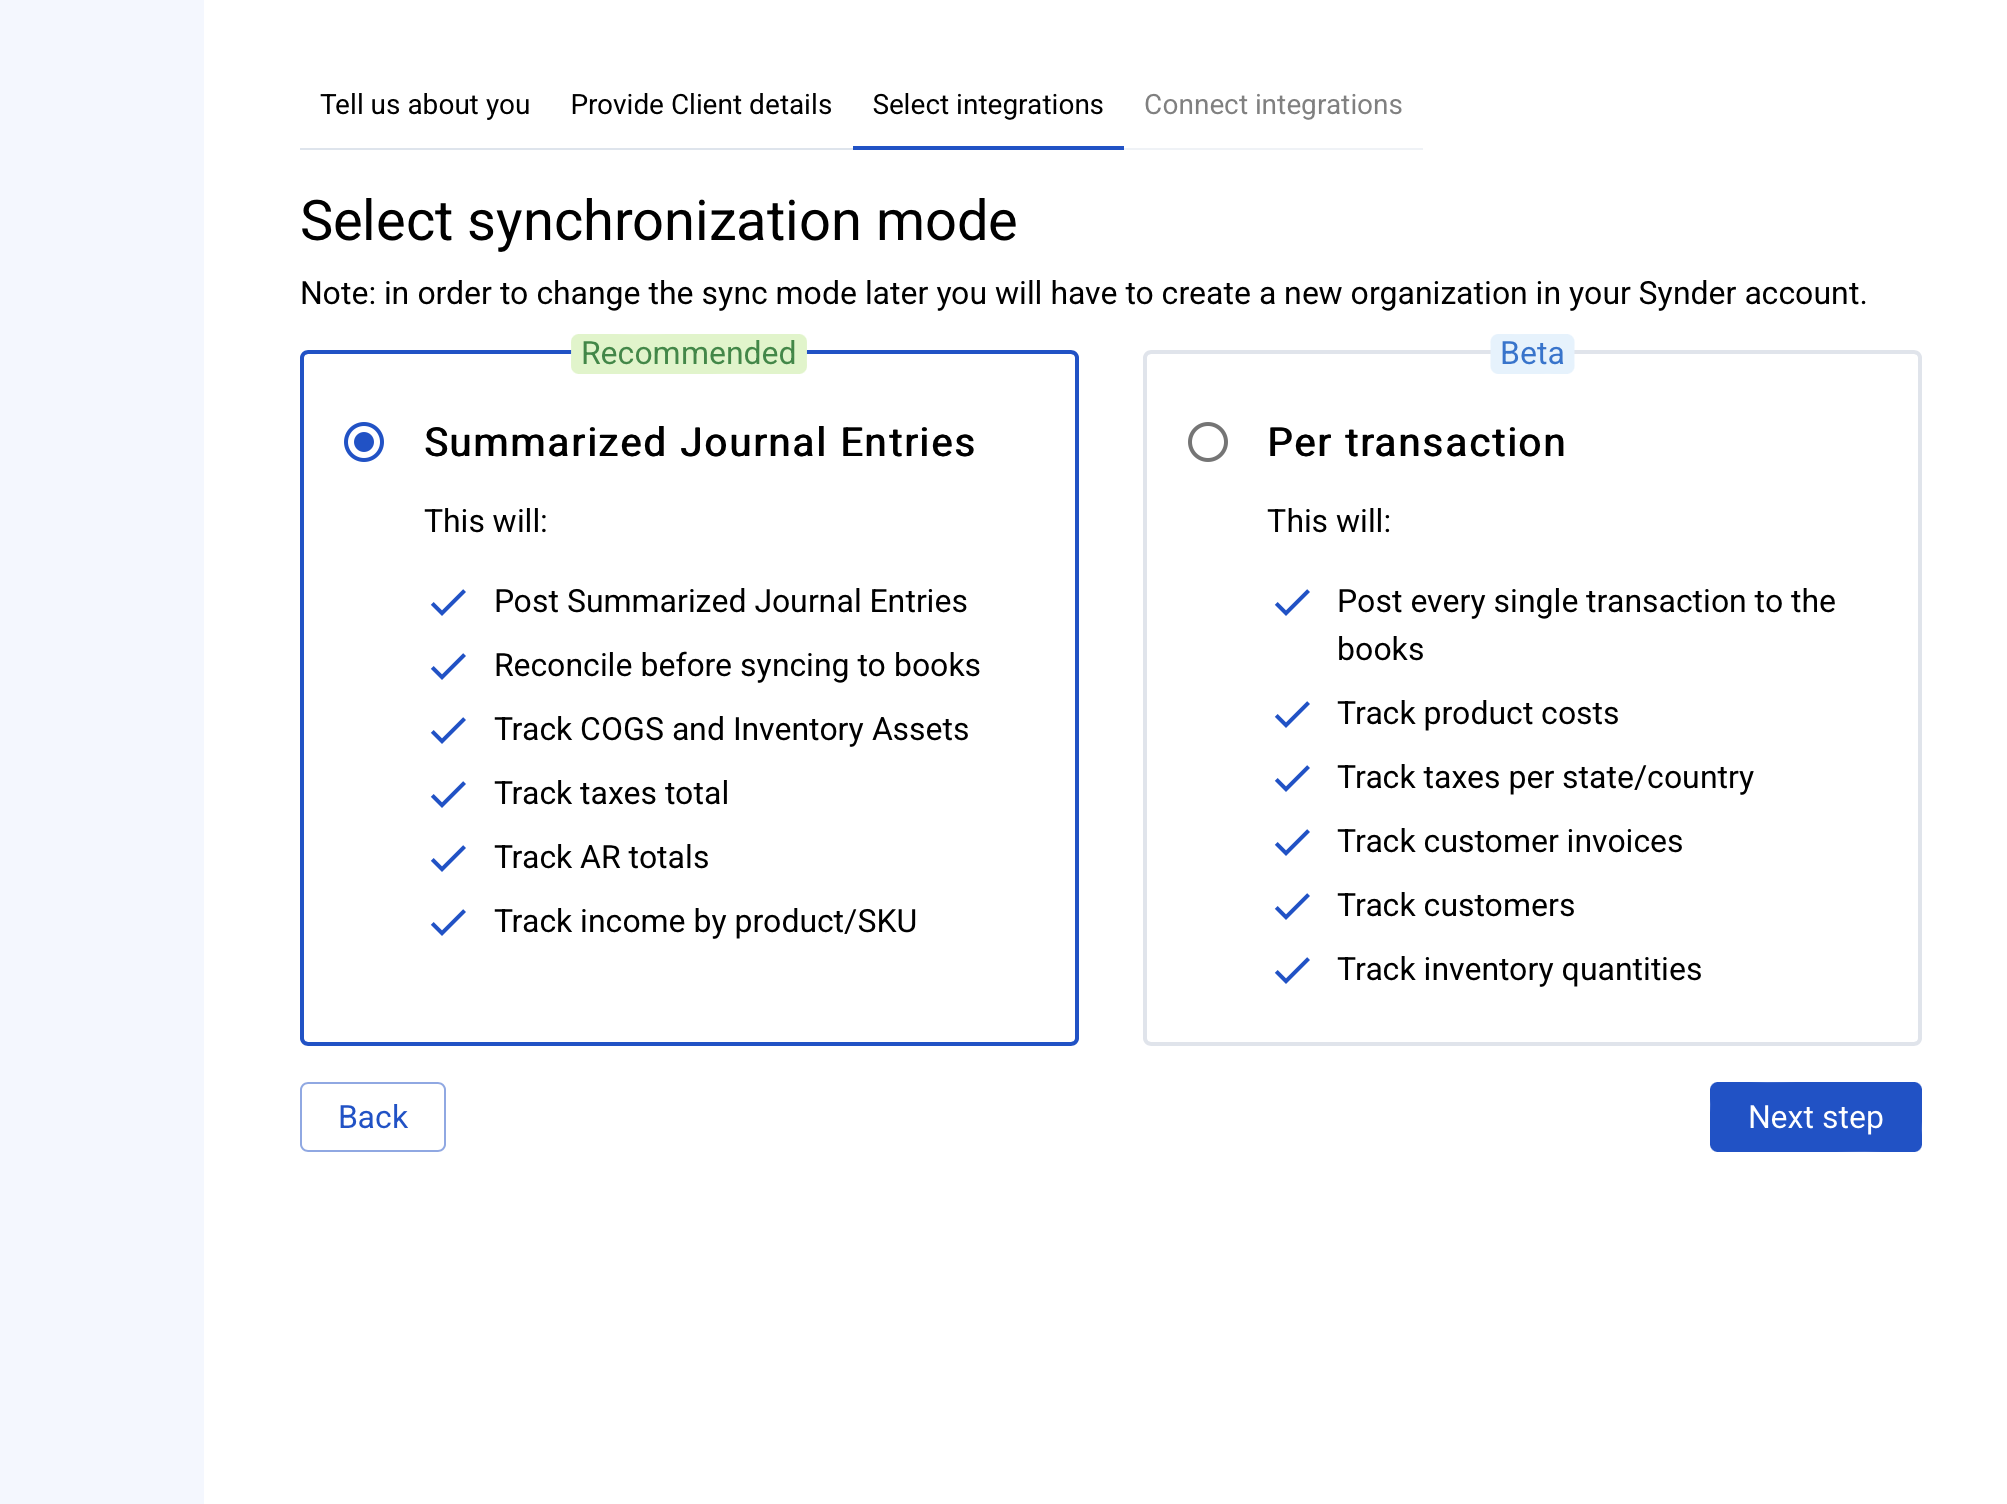
- Select your preferred sync method
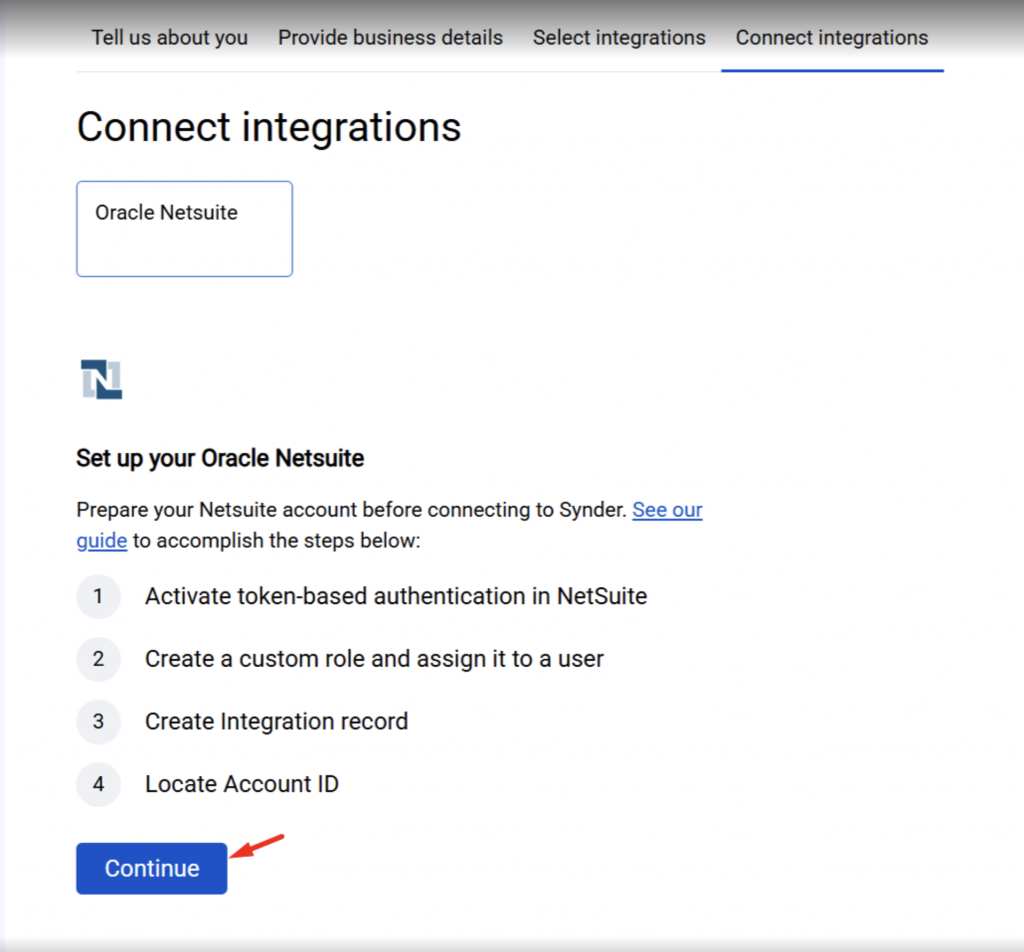
- Click Continue on the following page. We are close to finalizing the integration!
Fill out the required fields with user credentials from Oracle Netsuite:
- 🔑 Account ID
- 🔐 Consumer Key
- 🔐 Consumer Secret
- 🧾 NetSuite Role (Internal ID)
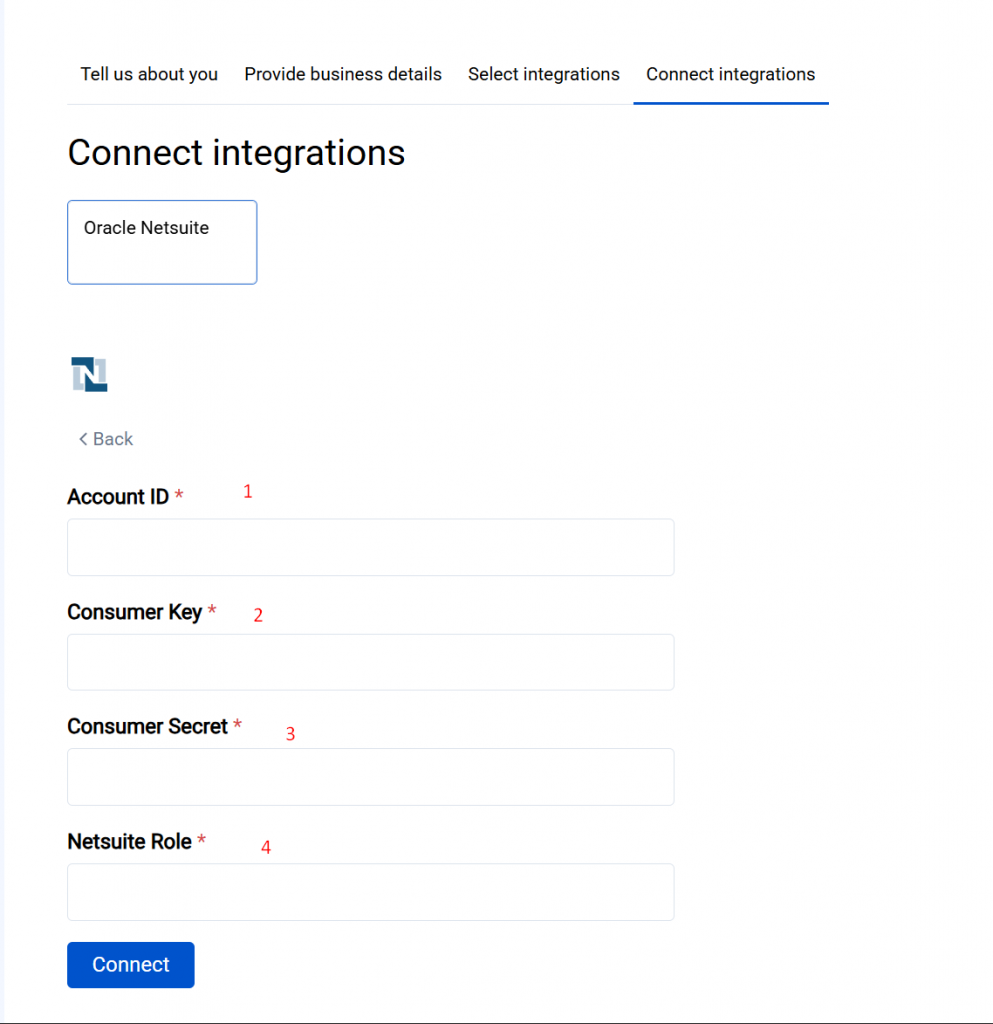
Not sure where to get these values?
Refer to the guide: How to Create a NetSuite User and Retrieve Integration Credentials.
For Summary Sync mode, the connection is complete after entering the required NetSuite account IDs and keys and clicking connect
For Per Transaction mode, one additional step is required, so let’s dive right in
Enabling the RESTlet script for Per Transaction mode
After you enter the required Oracle NetSuite account IDs and keys and click Connect, Synder will prompt you to provide a RESTlet URL.
Do not close this connection page. You will need to copy information from it into NetSuite during the next steps.
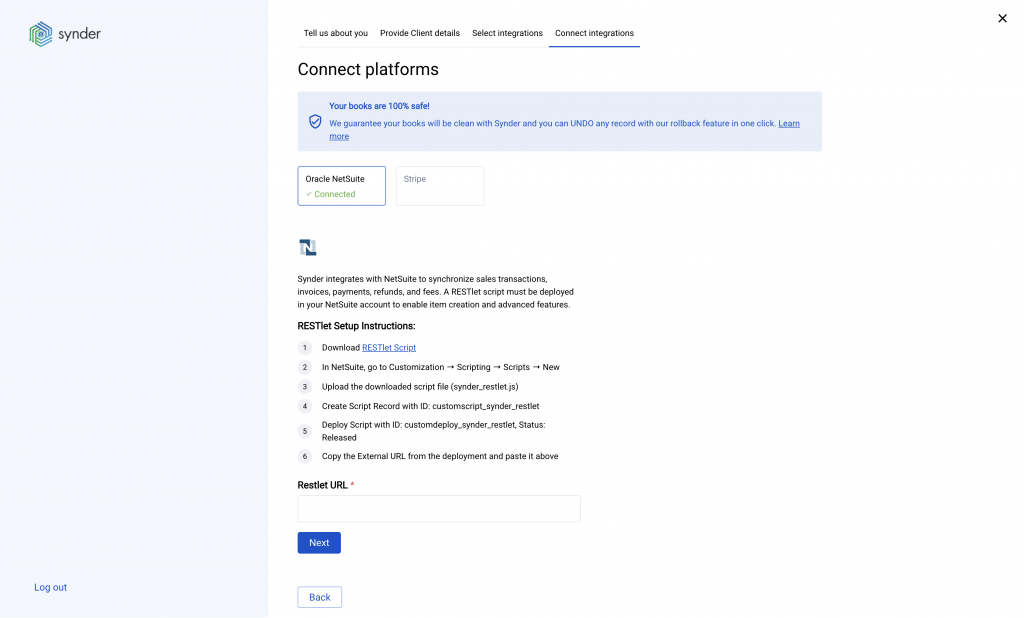
This extra step is required only for Per Transaction mode and allows Synder to sync customer-level and product-level details into your books.
To generate the RESTlet External URL, follow the steps below:
- Download the required script directly from the Synder connection page.
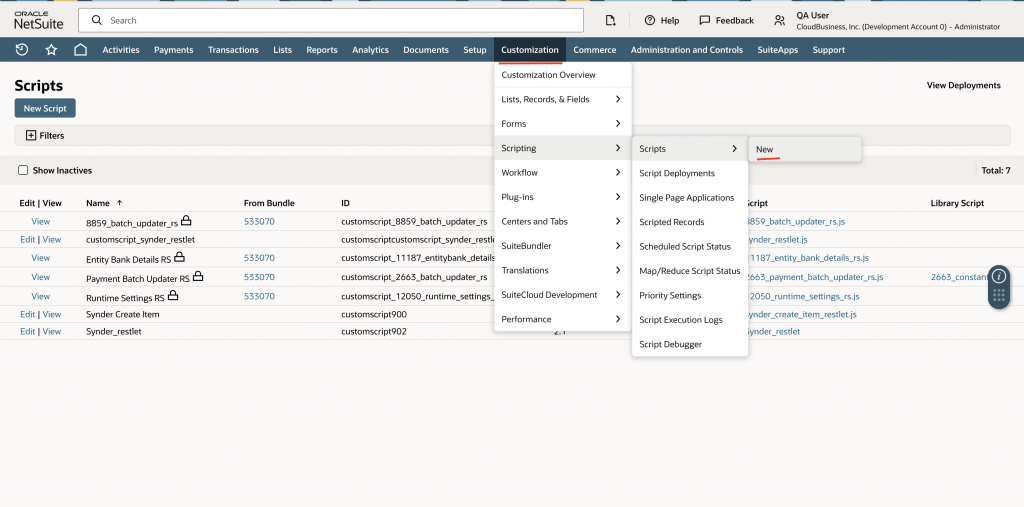
- In Oracle NetSuite, go to Customization → Scripting → New and create a new script record.
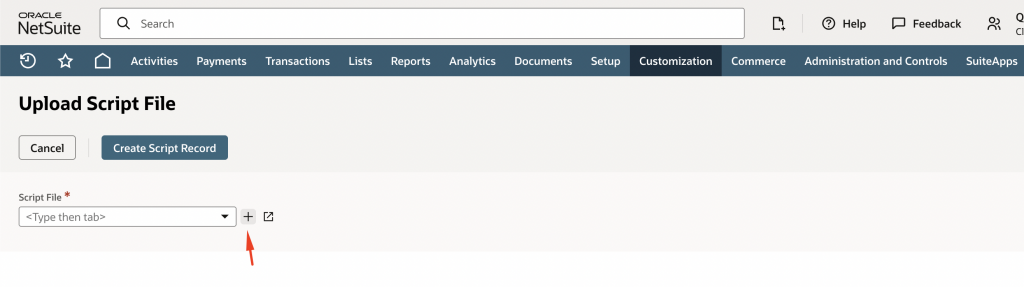
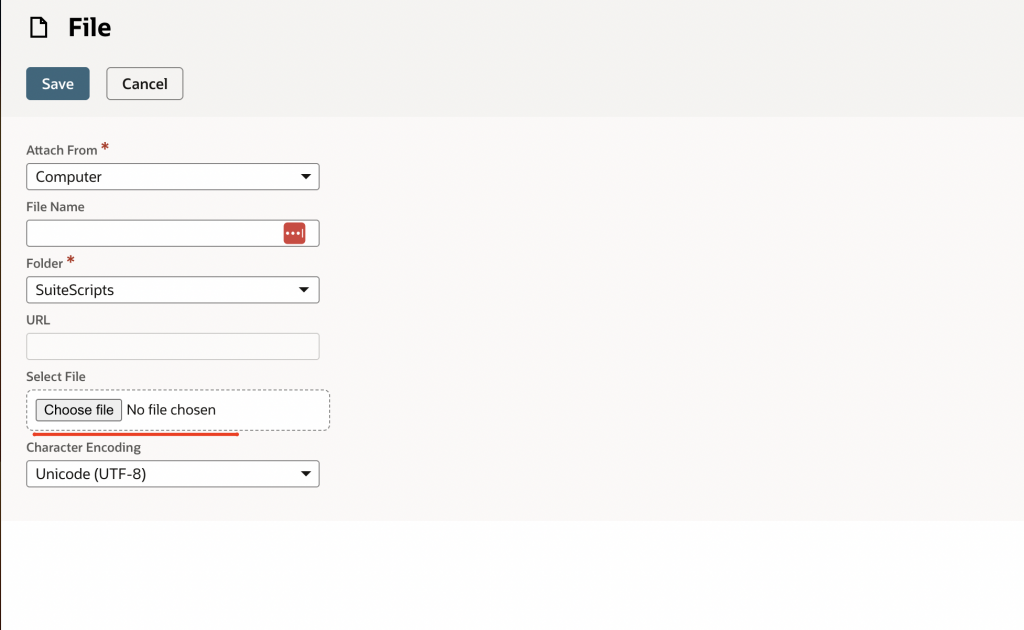
- Upload the downloaded script file and click Save.
Once the script is saved, open it again to complete the setup. Be sure to enter the following details:
- The Script ID and Deployment ID shown on the Synder connection page
- Ensure the Deployment Status is set to ‘Released‘.
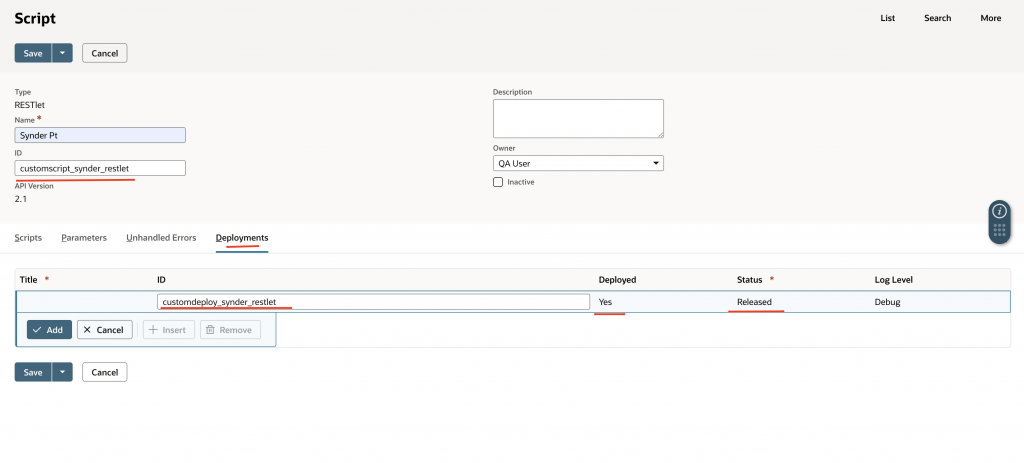
- After filling in these fields, click Save & Deploy.
- Copy the generated External URL for the RESTlet.

Click ‘Next’ on the Synder connection page and select the appropriate subsidiary and a bank account where you receive sales deposits
That’s it — your Per Transaction sync mode is now fully configured, and Synder is ready to sync data with Oracle NetSuite.
Reconnect Oracle NetSuite to Synder for your existing organisation
Please follow these steps:
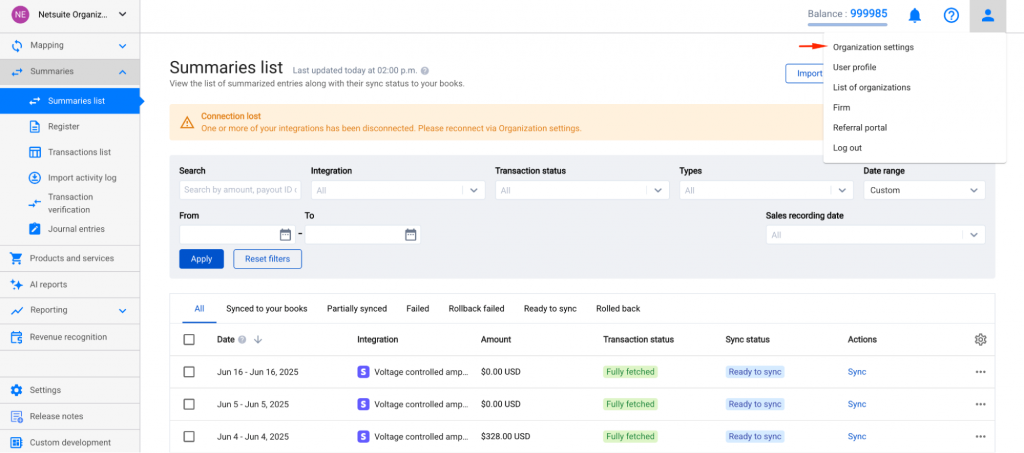
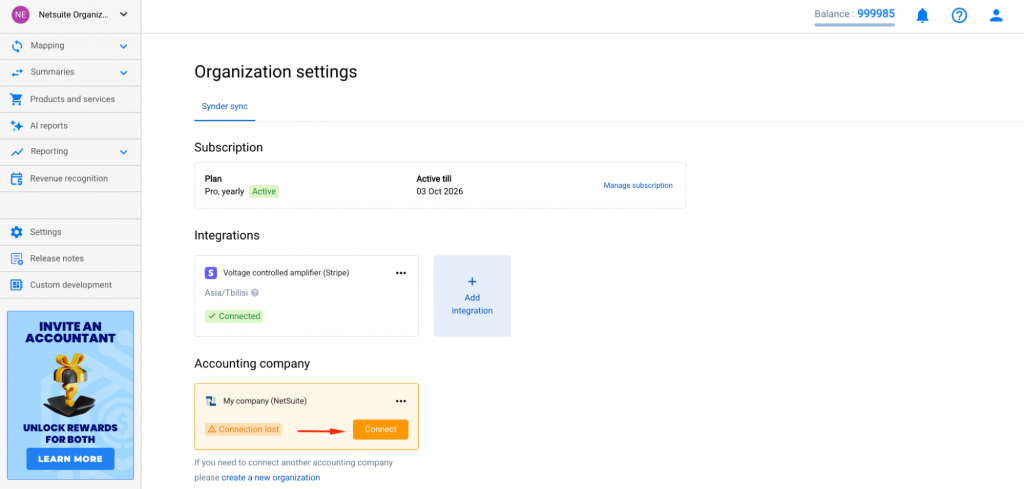
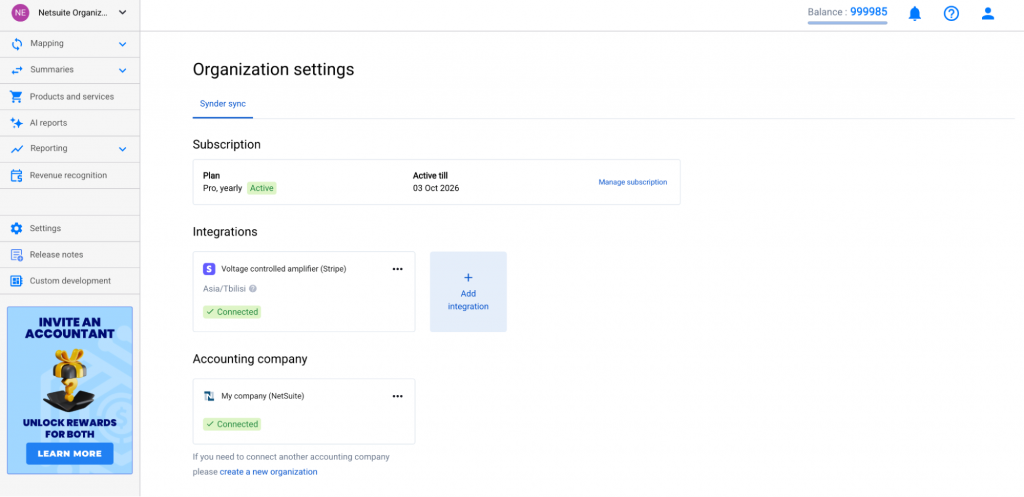
- Navigate to Organization settings→ Accounting company.
- Select Connect.
- You’ll be redirected to NetSuite to approve the connection.
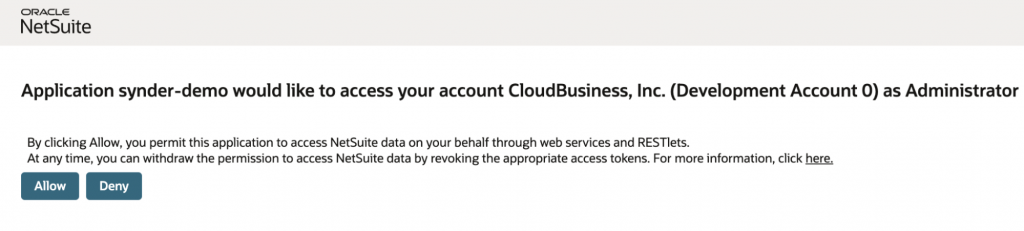
- Clicking Allow will take you back to your Synder account page, where Oracle NetSuite will be reconnected. This will allow you to continue the sync process
Now you know how to easily connect Oracle NetSuite to your Synder and seamlessly synchronize data for quick reconciliation and accurate reporting.
For more information about Oracle NetSuite integrations or other Synder features, visit our Help Center or reach out to Synder Team via online support chat or email.