
Overview
Business Importer is an application built for businesses and accountants. It lets you import financial data from spreadsheet files or cloud documents directly into your accounting system. The process is automatic and eliminates human error
The app currently supports importing data into:
- Xero
- QuickBooks Online
- Sage Business Cloud Accounting
Data can be uploaded from:
- Excel files
- CSV files stored on your computer
- Google Sheets
After the import is complete, the transactions appear inside your accounting system. They look exactly as if you had created them manually.
What you can import
Business Importer supports a wide range of accounting data. The available import types depend on your connected platform. Here are some examples:
- Invoices
- Payments
- Customers
- Products or services
- Bill
- Bill Payment
- Cash Expense
- Check
- Credit Card Charge
- Credit Memo
- Customer
- Deposit
- Employee
- Estimate
- Invoice
- Products And Services
- Journal Entry
- Payment
- Purchase Order
- Refund Receipt
- Sales Receipt
- Tax Code
- Time Activity
- Transfer
- Vendor
- Vendor Credit
When to use Business Importer
Business Importer works best in the following situations:
- You need to import financial data that has been exported from another system in spreadsheet format
- Your team records transactions in Excel before entering them into accounting software
- You need to migrate accounting data from another system
- You regularly import reports or transaction files from external platforms
- You want to automate repetitive accounting tasks
As a result, you do not need to manually recreate transactions. Simply upload your file and import the data in bulk.
Desktop vs Cloud Version
Business Importer comes in two formats. The right one depends on the accounting platform you use.
Cloud Version
The cloud version runs directly in your browser. It works with cloud-based accounting systems such as:
- Xero
- QuickBooks Online
- Sage Business Cloud Accounting
You do not need to install any software to use the cloud version. Simply create an account, log in through the website, and connect your accounting company.
This version allows you to:
- Upload files from your computer
- Import data from cloud spreadsheets
- Create automated import schedules
- Manage your import history and settings online
Desktop Version
The desktop version is built for users who work with local accounting software. For example, it supports QuickBooks Desktop.
You must install this version on your computer. It connects directly to your local accounting file. The first time you run it, you may need to authorize the connection with administrator permissions.
If you work with Xero, QuickBooks Online, or Sage, choose the cloud version instead.
Register
Before you can import data, you need to create a Business Importer account. Follow these steps to get started:
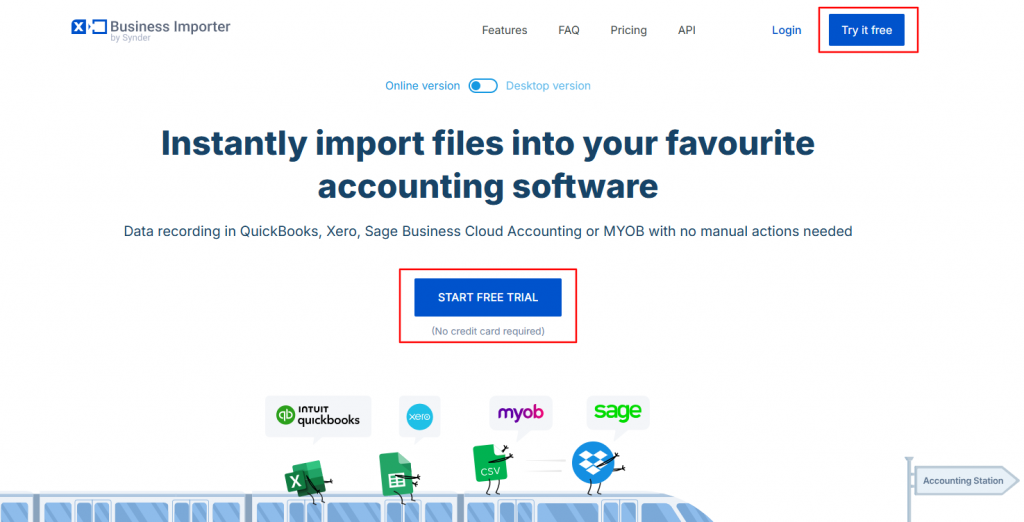
- Go to https://importer.synder.com/ and click “Try it Free.”
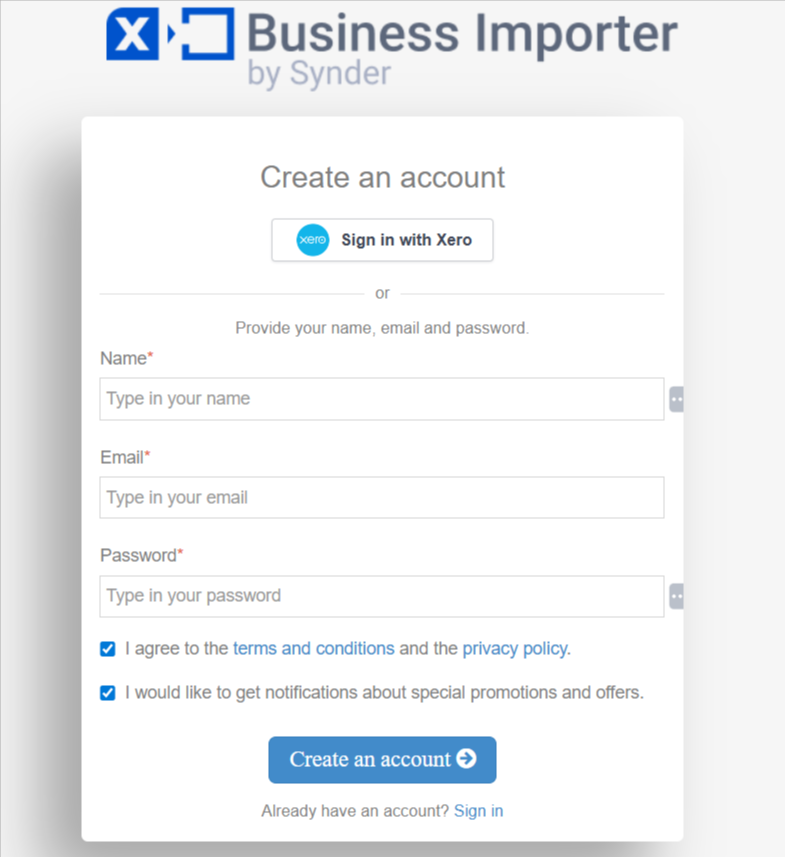
- Create an account using your name, email, and password.
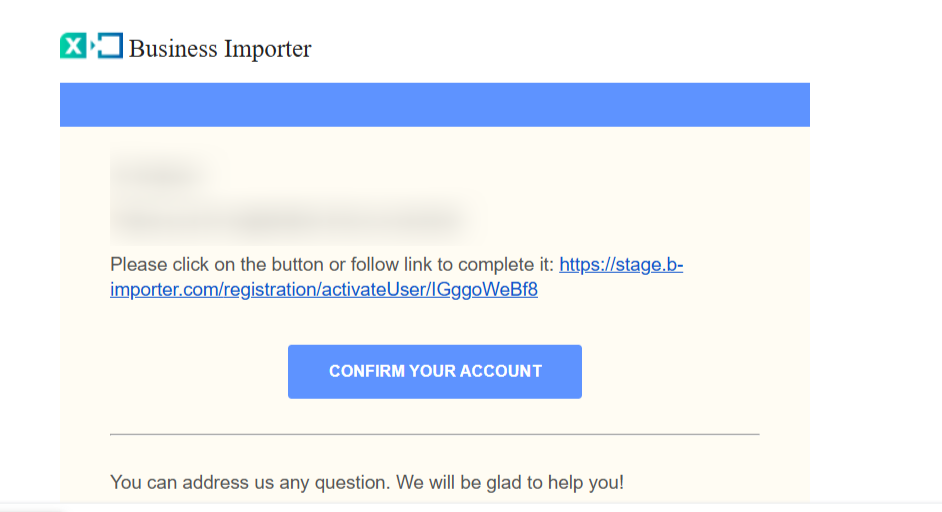
- Check your inbox for a confirmation email and click “Confirm your account” to verify registration.
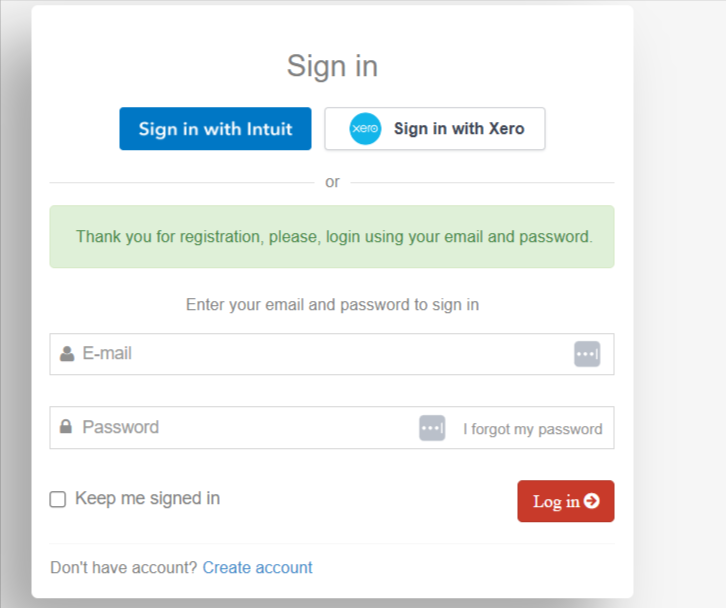
- Log in to the app to reach the main dashboard.
Every new user receives a 14-day free trial, which allows you to test the application and try importing different types of data.
You can optionally explore subscription plans to remove trial limits, but you are now ready to start connecting your accounting software
Connect
After logging in, you can connect your accounting software in a few steps:
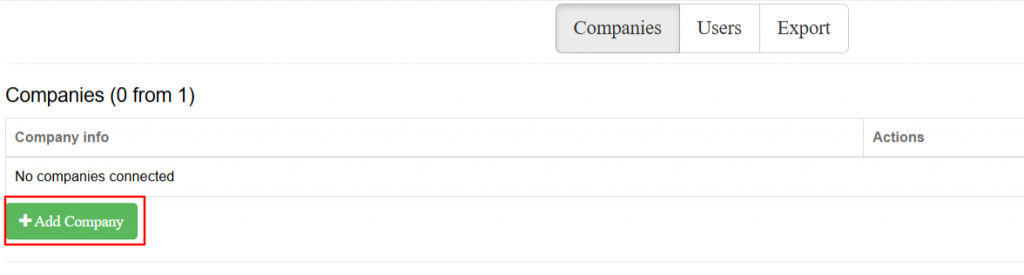
- Click Add Company on your account page.
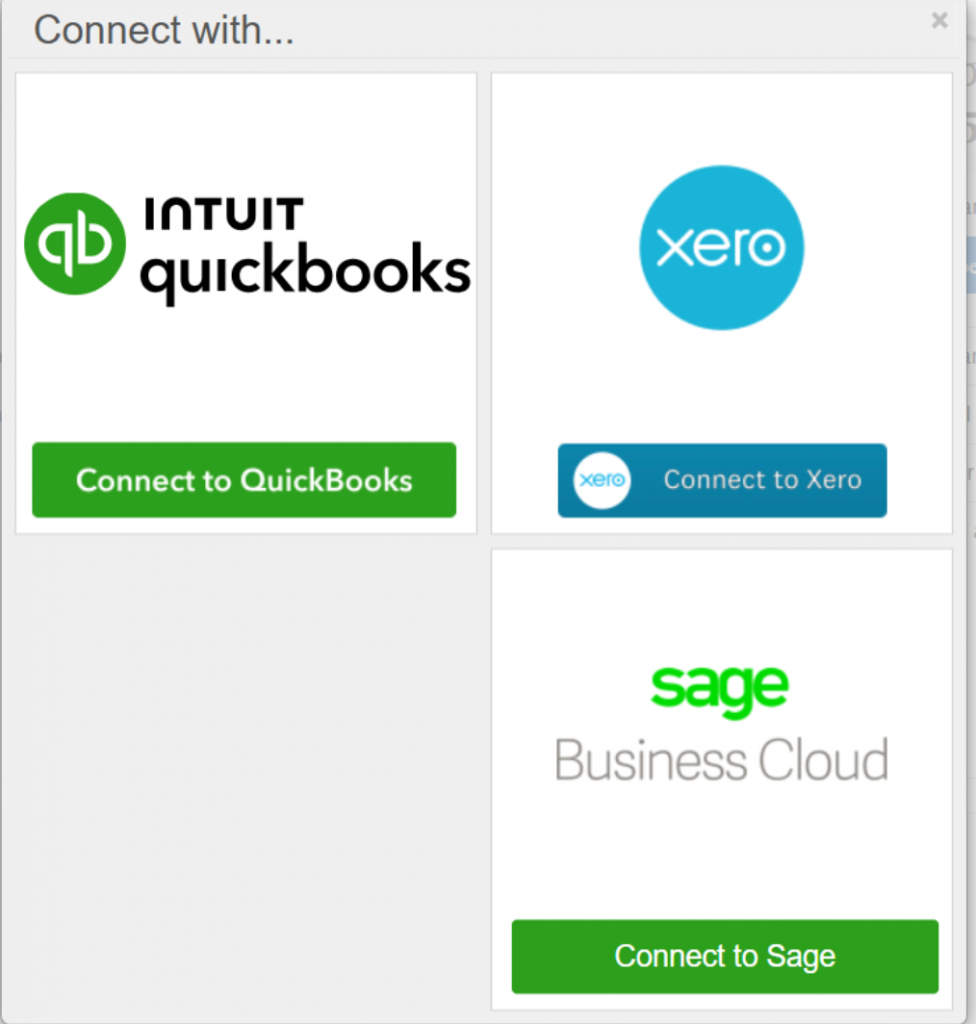
- Select the accounting platform you want to connect (for example, QuickBooks Online).
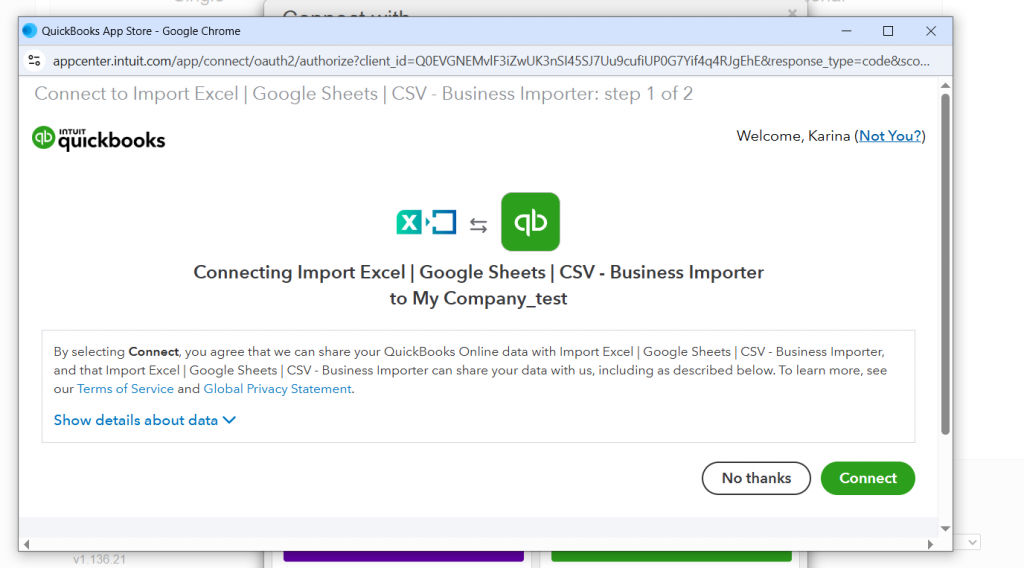
- Authorize Business Importer to access your accounting company when redirected to your accounting software.
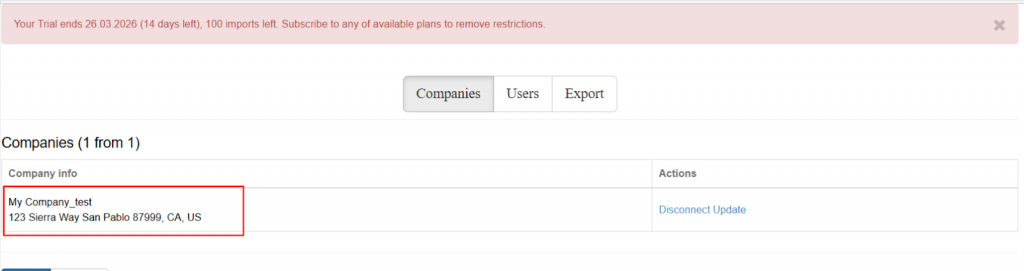
Once the authorization is complete, your accounting company appears on the account page. You are now ready to start importing data.
Importing Data
Step 1: Upload your file
Your data must be stored in a spreadsheet file. This can be:
- Excel (.xlsx)
- CSV
- A cloud spreadsheet such as Google Sheets
Always place column names in the first row. Business Importer uses these names to understand what each column represents during the mapping step.
For example, an invoice file might include columns such as:
- Invoice number
- Customer name
- Date
- Description
- Account code
- Quantity
- Unit price
Headers should be located in the first row or line:

- If your file type is Excel and the file contains more than one spreadsheet, choose the preferred sheet to start import.
- If you want to create invoices with multiple line items, simply repeat the same document number for each row that belongs to the same invoice.
Step 2: Upload your file
In the Business Importer dashboard, select Upload File from the menu on the left.
You will see a list of all the objects you can import. Choose the type of data you want to upload, for example, Invoices.
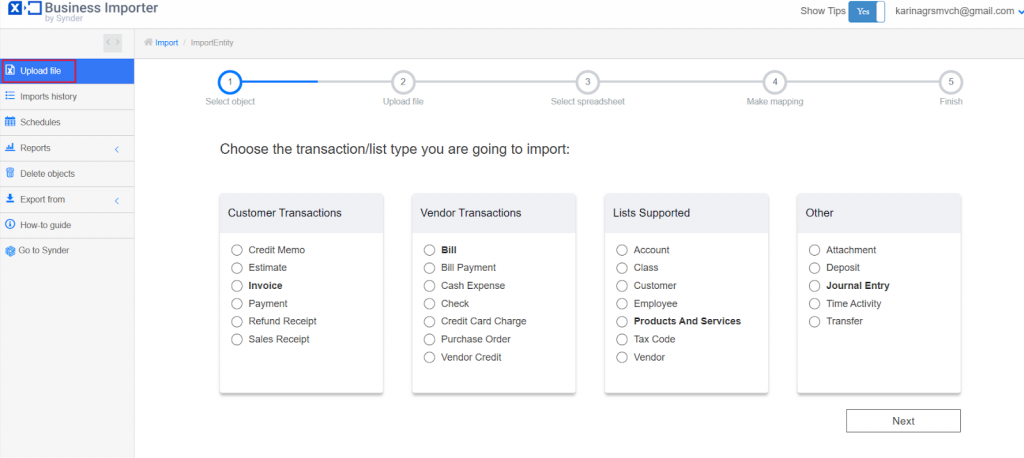
After selecting the transaction type and clicking Next, you will see the option to download our template file, which is pre-formatted to help make your import smoother if you choose to use it.
Next, choose how to upload your file – Upload a file from your computer or Paste a link to a cloud spreadsheet.
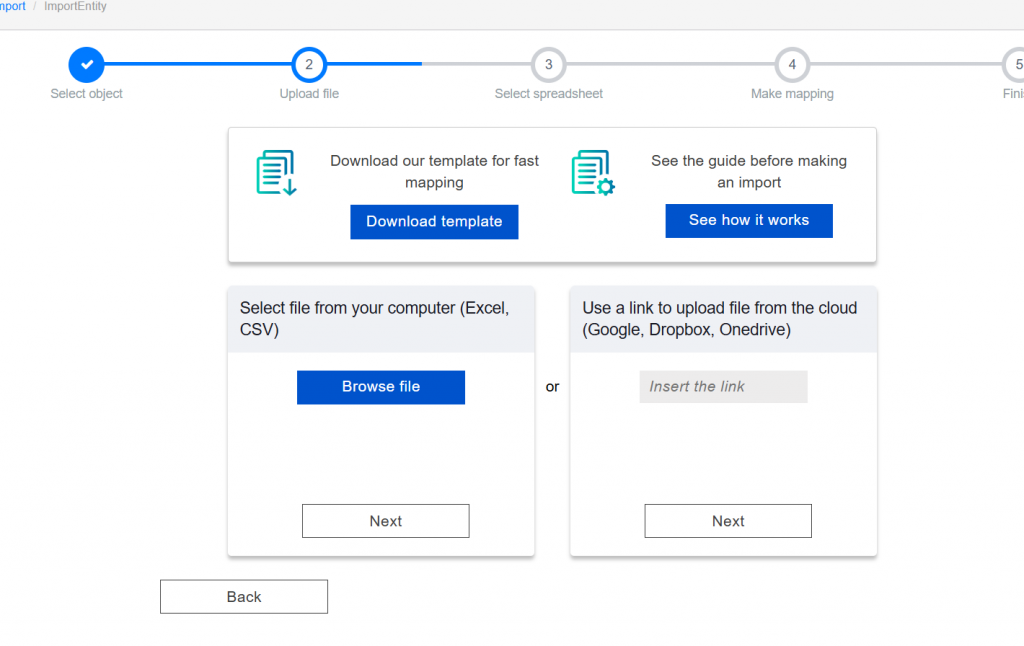
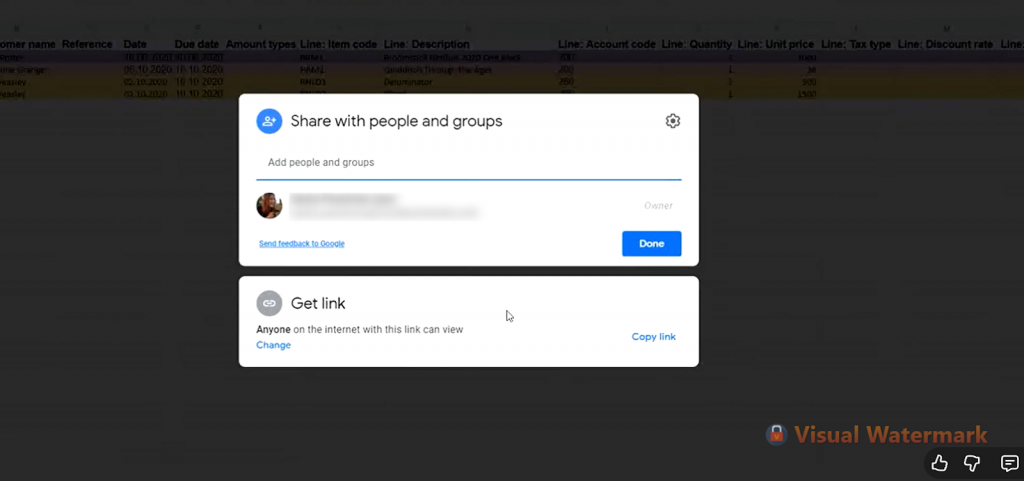
If you are importing from a Google Sheet, make sure the document is shared so the app can access it.
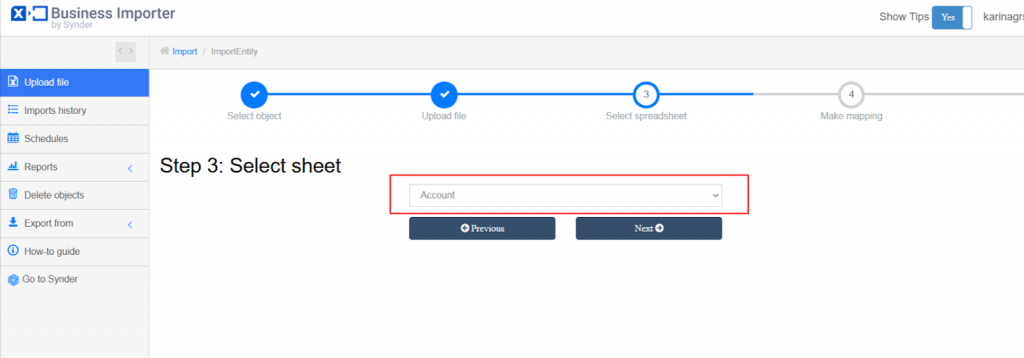
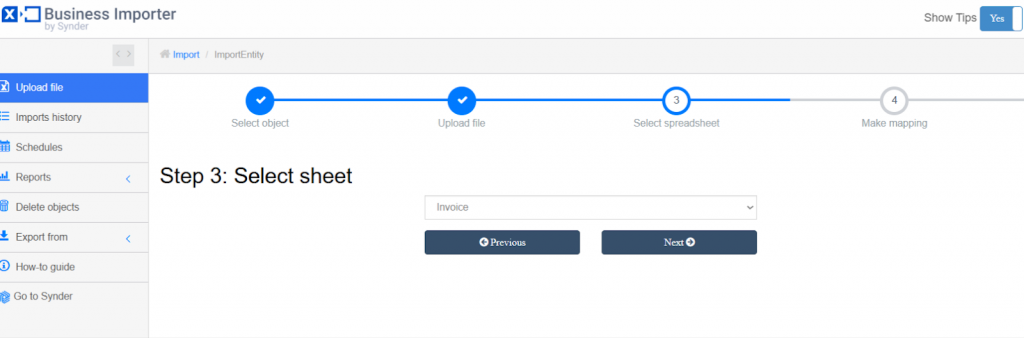
Step 3: Select the sheet
If your spreadsheet contains multiple sheets, you will need to choose the sheet that contains the data you want to import.
For example, you may have separate sheets for:
- Invoices
- Payments
- Customers
Select the appropriate sheet and proceed to the next step.
Step 4: Map your fields
During this step, you link your spreadsheet columns to the matching fields in your accounting system.

- The first column lists your accounting platform’s fields.
- The second column uses a select box for each row to match a column name from your file to the QuickBooks field.
- The third column allows you to set fixed values for all imported objects, useful if you need to import a non-required field not present in your file.
Your mapping is saved and can be named for future imports with the same headers. Unmapped fields will not be imported.
Step 5: Start the import
Once everything looks correct, click Start Import.
Business Importer then processes the file and creates the transactions inside your accounting system. The import log shows the results, including how many records were successfully created.
For example, if your file contained three invoices, the log confirms that all three were created.
Next, open your accounting software to verify that the transactions appear correctly.
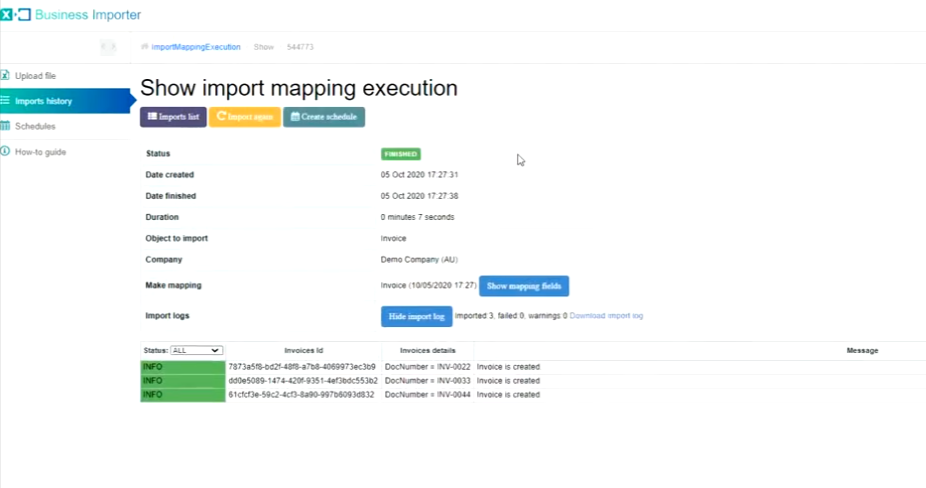
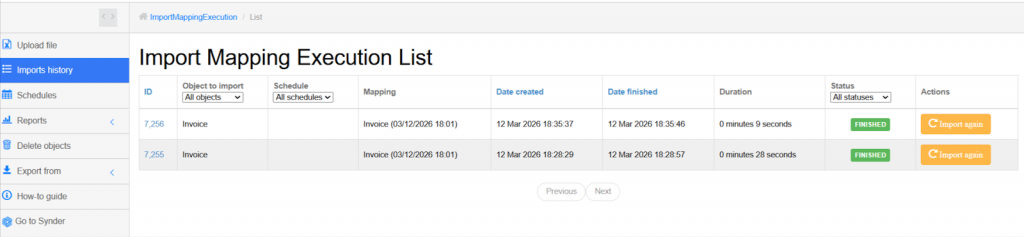
Step 6: Import results
The import page shows log information and the current status. There are six possible status types:
IN_PROGRESS — The import is running. Click the Import Log button to track progress.
FAILED — Something went wrong. Open the Import Log to see what happened.
FINISHED — The import completed successfully.
CANCELED — You canceled the import before it finished.
FINISHED_WITH_WARNINGS — Some objects were not imported. Check the Import Log for details.
SCHEDULED — The import is queued and will start soon.
Useful Use Cases
Importing Payments to Close Invoices
Business Importer can also import payments that automatically close open invoices.
First, import your invoices. Then upload a separate file with payment data.
The payment file should include information such as:
- invoice number
- payment date
- amount
- account
Business Importer automatically links each payment to the matching invoice. As a result, the invoice status changes to Paid.
This way, you can close multiple invoices in bulk instead of recording each payment by hand.
Scheduling Automatic Imports
In addition, Business Importer lets you automate imports using schedules.
After you successfully import a cloud file, you can turn that import into a recurring schedule.
For example, suppose a Google Sheet is updated every Monday morning. You can then schedule Business Importer to import the data every Monday evening automatically.
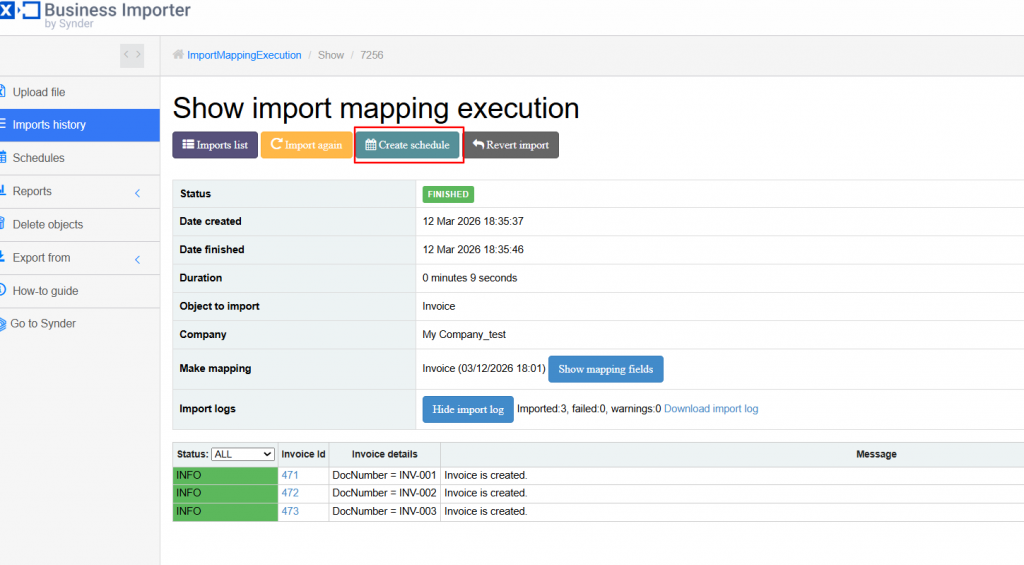
To create a schedule:
- Open the import log of a successful import
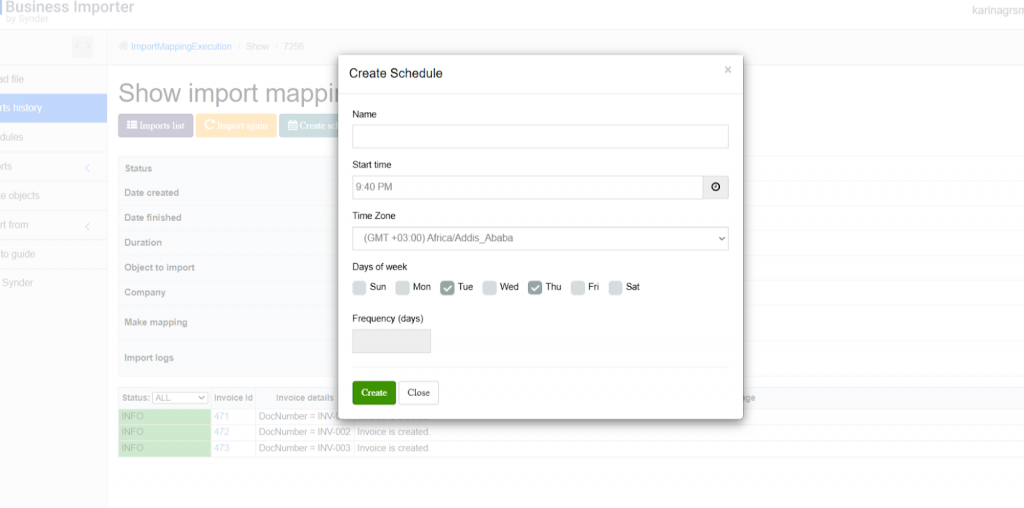
- Click Create Schedule
- Choose the time, timezone, and day of the week
- Save the schedule
From that point on, the import runs automatically at the scheduled time. No manual action is needed.
You can view and manage all schedules in the Schedules tab.
- The function works if you insert the file using Google link
- Do not delete the import file from Google Drive – you just need to update it inside Google Drive, and Business Importer will automatically import transactions and entities into QuickBooks Online according to the conditions stated in your schedule.
- All transaction lines are imported from the file during the scheduled import. Make sure that the lines that have been previously imported with the previous import are timely removed from your file. Otherwise, the transaction lines will be imported again during the scheduled import.
- To edit or delete your Schedule, go to the Schedules tab.
Check out the Schedule import result in Imports History.
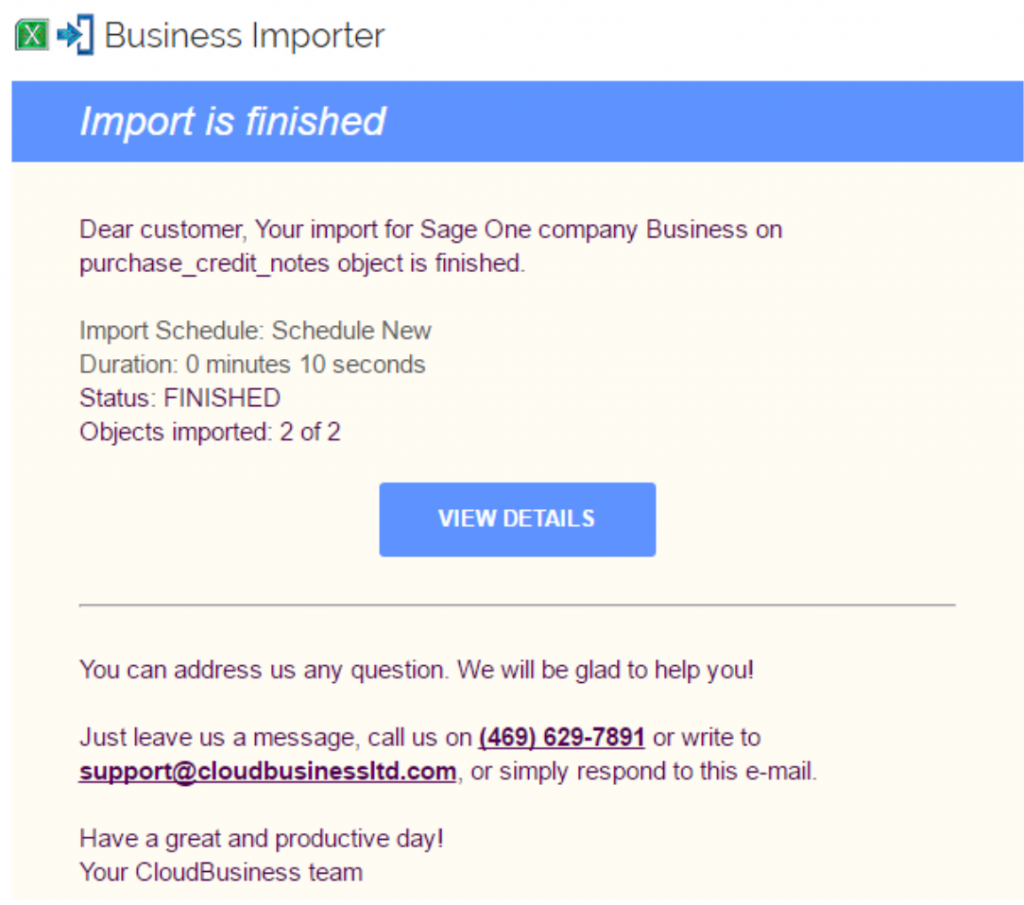
You will receive an email notification once the scheduled import is done.
Manually start scheduled imports from the Schedules tab by clicking “Start Now” next to a specific import or “Start all” for all enabled Schedules.

Trial Limits
Every new account includes a 14-day free trial. This gives you time to test the application before committing.
During the trial period:
You can import up to 100 rows in total
Each import can contain up to 50 rows
These limits give you enough room to test different import types and confirm that Business Importer works with your workflow.
After you upgrade to a paid plan, these restrictions go away. You can then import much larger datasets.